
Best Blacksmith Forge for Beginners: Coal vs Propane
Introduction
Choosing your first blacksmith forge can feel overwhelming. One of the biggest beginner questions is whether to start with a coal forge or a propane forge.
Both options work — but they suit very different beginners, spaces, and budgets.
In this guide, we’ll compare coal vs propane for beginners in the UK, explain the real-world pros and cons of each, and help you decide which forge type makes sense for your first setup.
If you’re still working out your overall budget, start with our guide on [how much it costs to start blacksmithing in the UK}.
Quick Answer: Coal or Propane for Beginners?
For most beginners in the UK, a propane forge is the easier and more practical option.
Coal forges offer a traditional experience, but propane forges are:
easier to control
cleaner
faster to set up
better suited to small home workshops
Coal forges still make sense in some situations, which we’ll cover below.
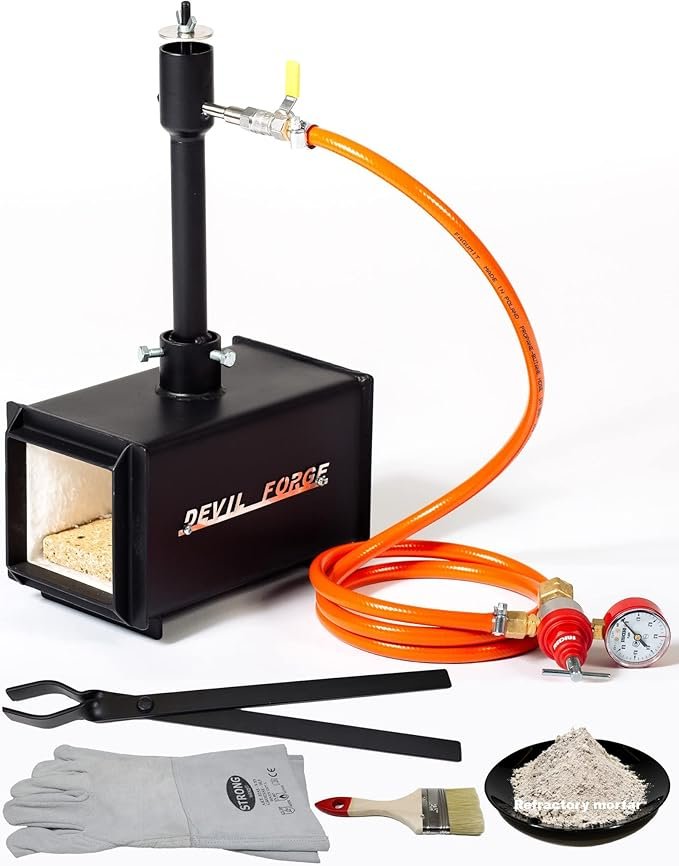
🔥 Propane Forges for Beginners
Propane forges use gas burners to heat steel inside an insulated chamber.
Why Propane Is Popular with Beginners
Consistent, controllable heat
Minimal setup and cleanup
Easier to use in gardens, garages, or sheds
No solid fuel storage
Many beginners choose a single-burner propane forge as their first forge because it’s affordable and capable of handling most beginner projects.
👉 We included propane forge pricing in our full beginner cost breakdown [here].
Downsides of Propane Forges
Higher fuel cost than coal in some areas
Less traditional forging experience
Limited chamber size on smaller models
For most beginners, these downsides are minor compared to the ease of use.
🔥 Coal Forges for Beginners
Coal (or coke) forges use solid fuel and forced air to heat steel.
Why Some Beginners Choose Coal
Traditional blacksmithing experience
Can handle larger or oddly shaped work
Fuel can be cheaper if sourced locally
Coal forges are often appealing to those interested in historical or traditional forging methods.
Downsides of Coal Forges
Steeper learning curve
More smoke, mess, and ash
Requires good airflow and ventilation
Not ideal for small residential areas
Coal forges also require more practice to manage heat consistently, which can slow early learning.
🏠 Which Forge Is Better for Home Workshops?
For most UK beginners working at home, a propane forge is the safer and more practical choice.
Propane forges are especially well suited to:
garden workshops
garages with proper ventilation
sheds and small forge spaces
Coal forges are better suited to:
rural properties
outdoor setups
dedicated forge spaces
If you’re setting up a small home workshop, we recommend reading our guide to [essential blacksmith tools for beginners] to understand how the forge fits into your overall setup.
💷 Cost Comparison: Coal vs Propane
Propane Forge Costs
Entry-level single-burner forge: £120–£250
Fuel: propane bottles (ongoing cost)
Coal Forge Costs
Basic coal forge setup: £150–£400
Fuel: coal or coke (varies by location)
While initial costs are similar, propane tends to be more predictable for beginners.
🔧 What Size Forge Should a Beginner Get?
Beginners should avoid oversized forges.
A small to medium forge is easier to:
heat efficiently
control temperature
run safely
Most beginner projects — hooks, tools, small blades — fit comfortably in a compact forge.
❌ Common Beginner Mistakes When Choosing a Forge
Buying a forge that’s too large
Choosing coal without considering ventilation
Overspending before learning basics
Ignoring fuel availability
Starting simple allows you to learn faster and upgrade later if needed.
Final Recommendation for Beginners
If you’re starting blacksmithing in the UK and want the smoothest learning curve:
👉 Choose a small propane forge.
It offers:
easier heat control
cleaner operation
less setup stress
faster progress early on
Coal forges are rewarding, but propane is usually the better first step.
Next up:
“Best Anvil Size for Beginner Blacksmiths ”
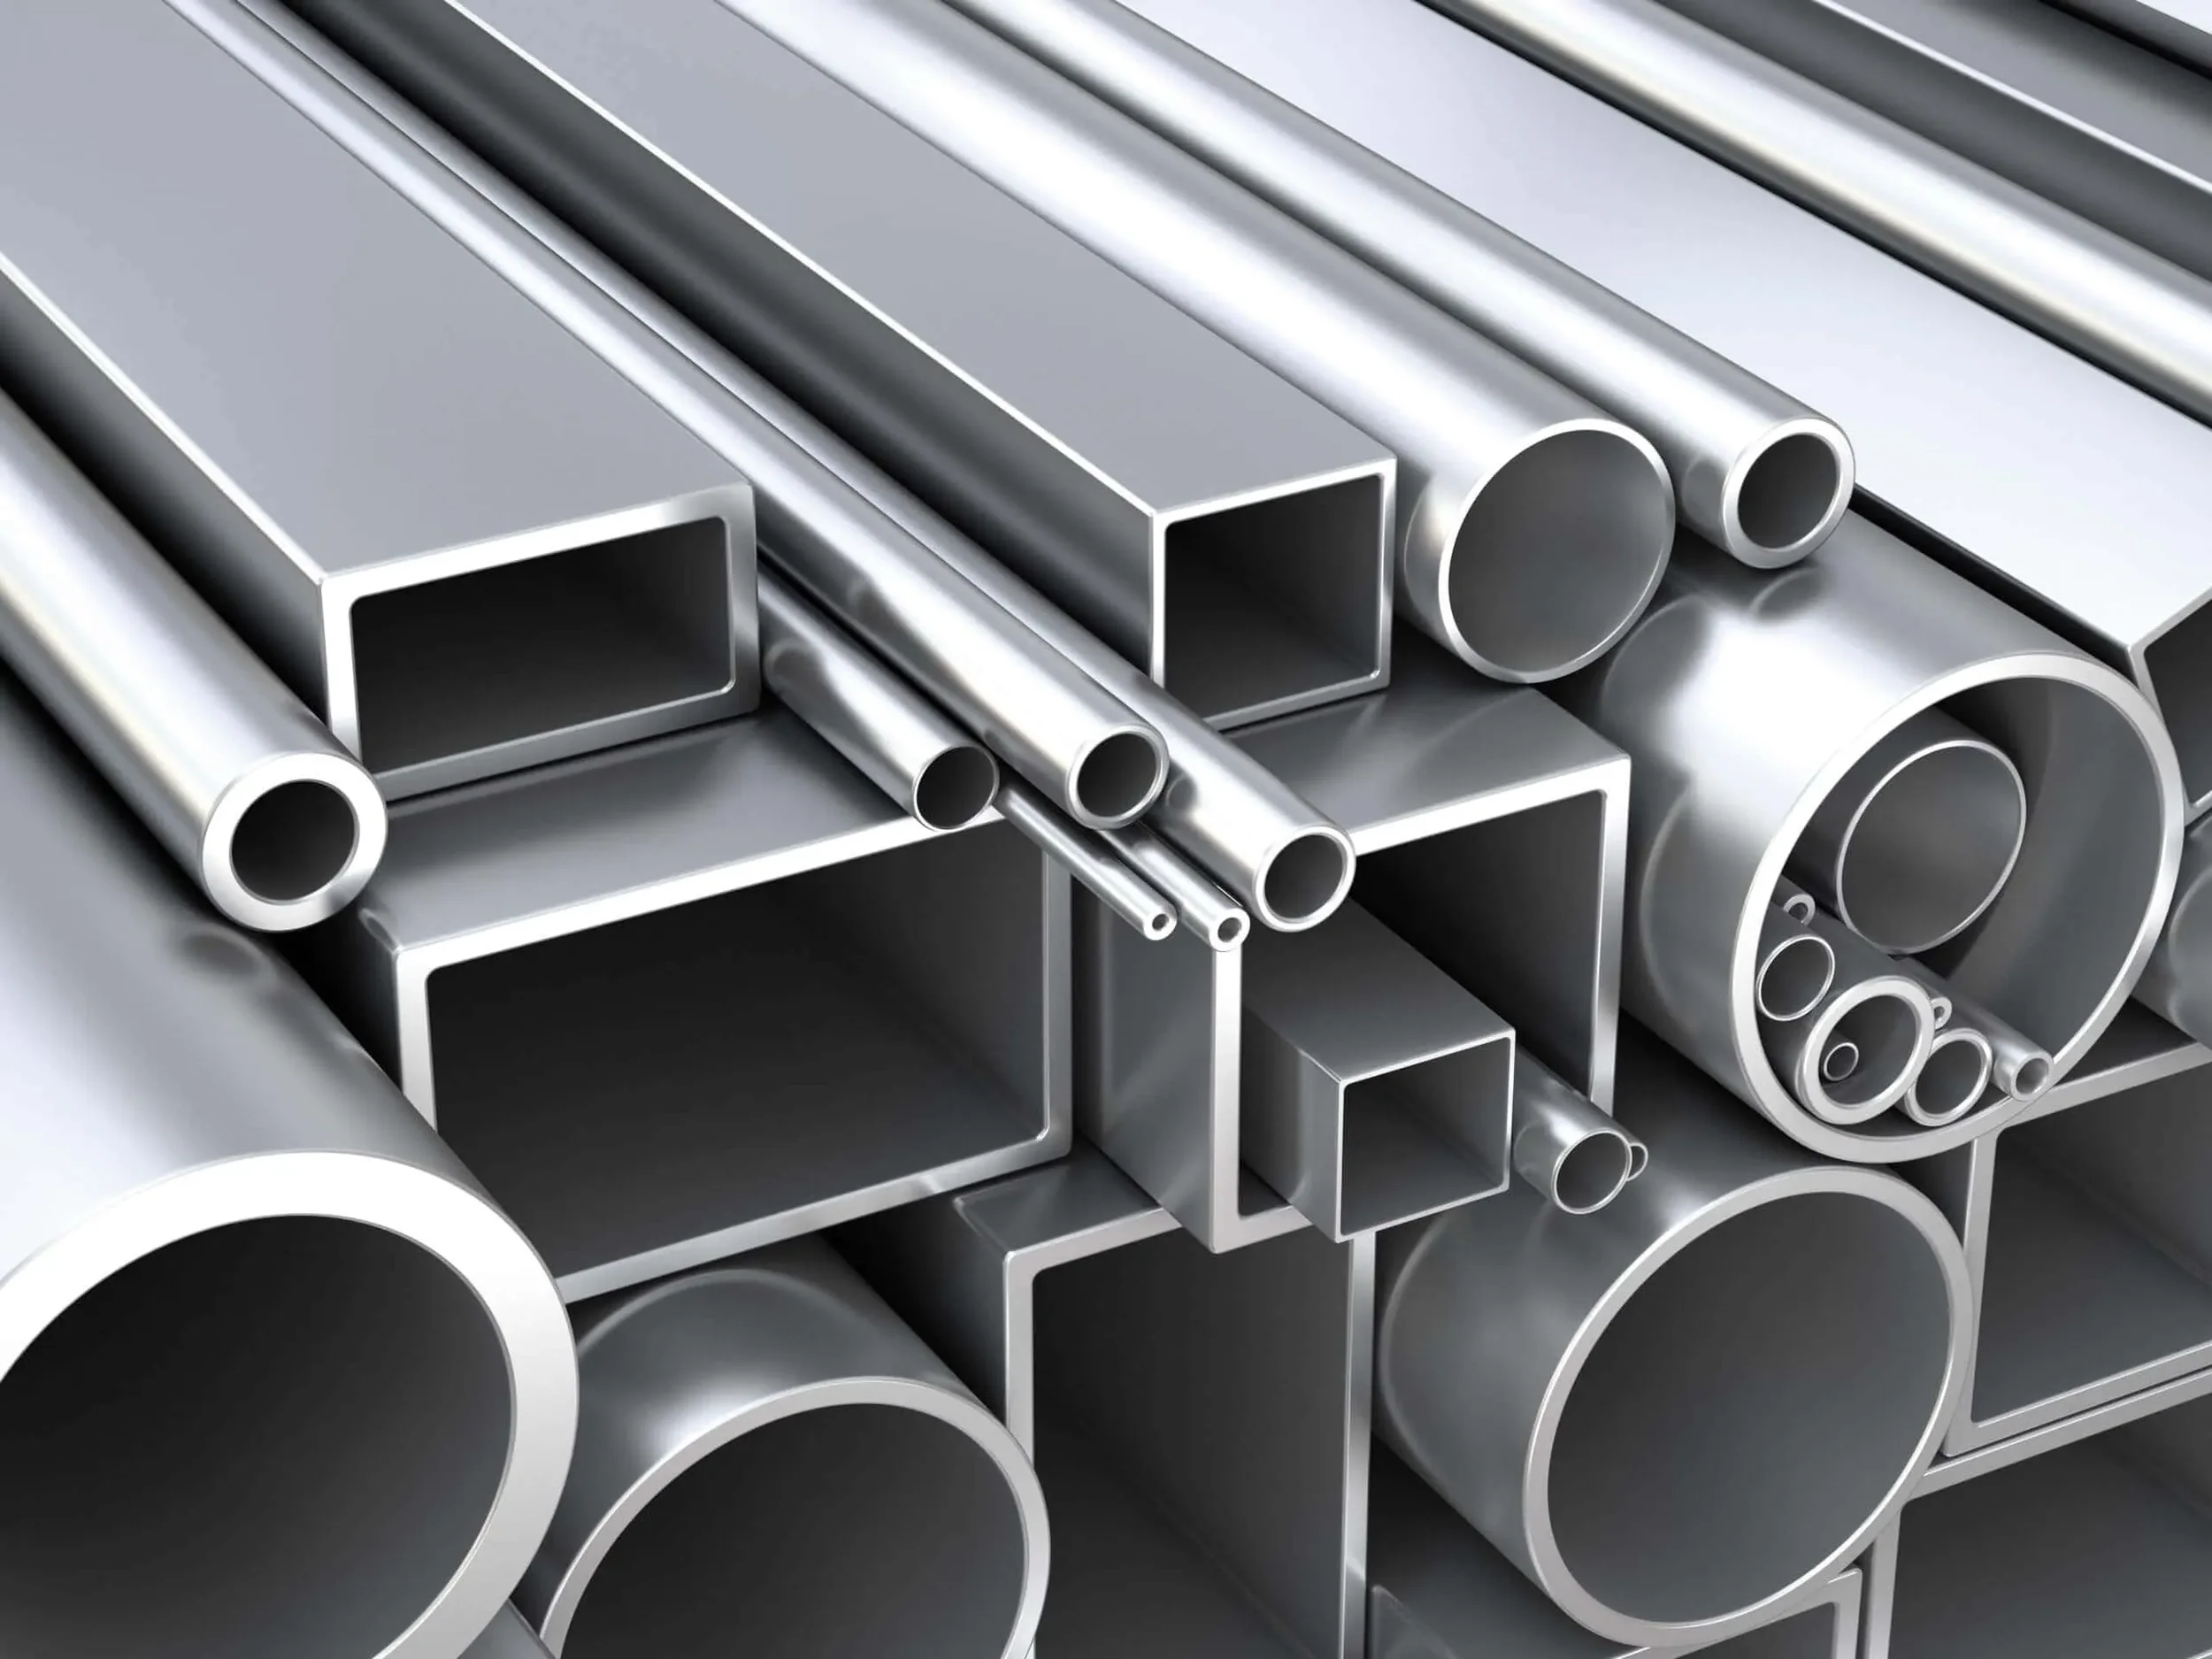
Materials a Blacksmith Can Work With
Steel, Copper, Brass, Aluminium
and Why They Behave the Way They Do
One of the biggest shifts in a blacksmith’s learning journey is realising that forging isn’t just about hitting hot metal — it’s about understanding how different materials respond to heat, force, and time.
Two pieces of metal can look identical at room temperature and behave completely differently once they’re hot. Some steels will harden simply by cooling in air. Others require oil or water. Copper gets harder the more you work it, then suddenly becomes soft again when heated. Aluminium gives almost no visual warning before it fails.
This article explains what materials blacksmiths can work with, and more importantly, why they behave the way they do, so your forging decisions start to feel intentional rather than trial-and-error.
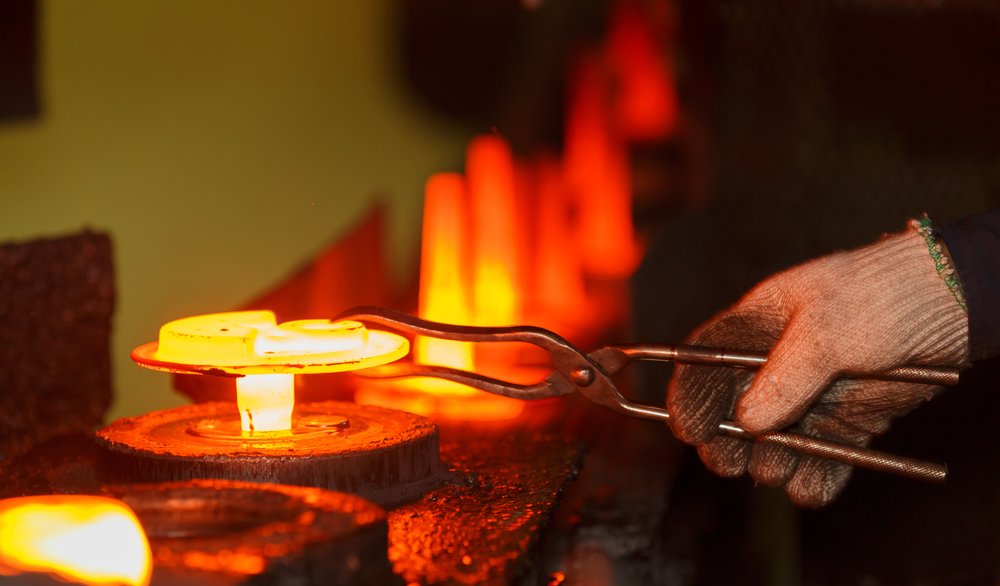
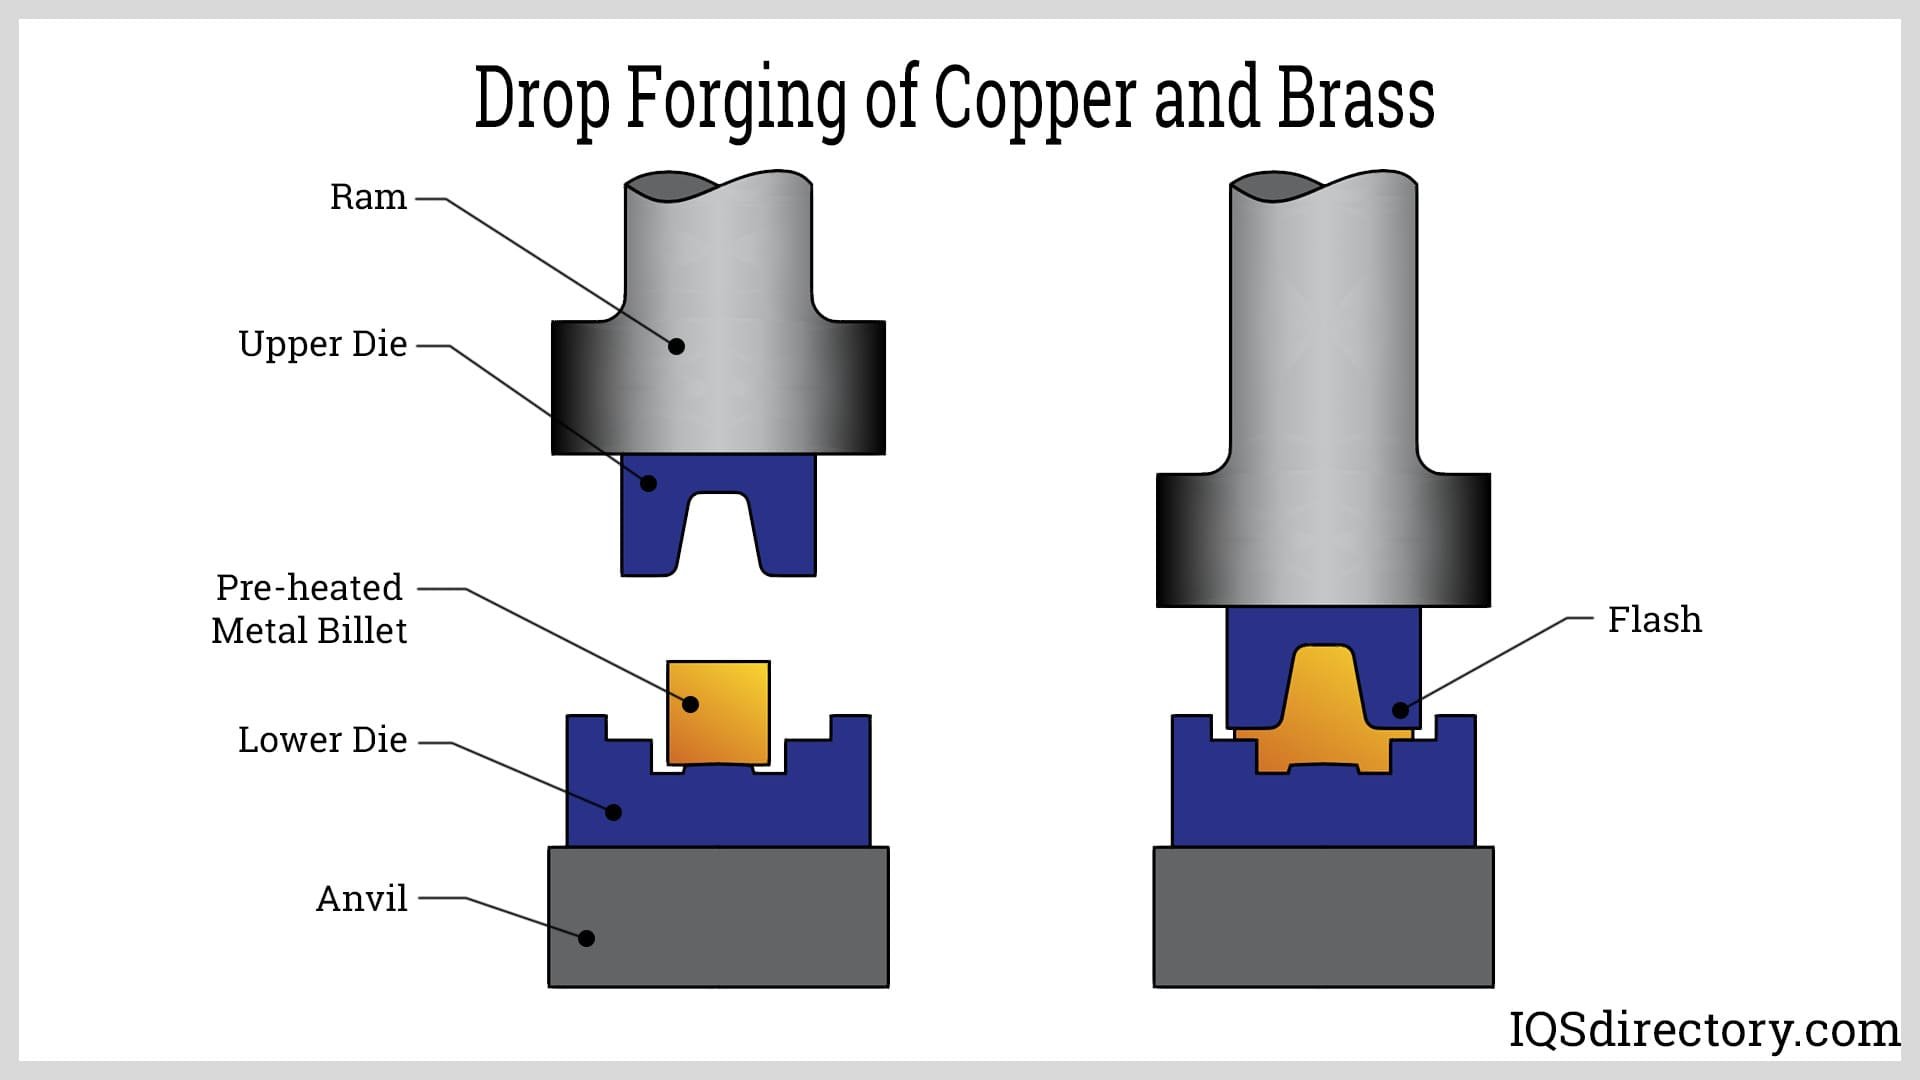
The Core Principle: Heat, Structure, and Atomic Movement
All forging behaviour comes down to how atoms move and rearrange.
When metal is heated, its atomic structure becomes more flexible. Atoms can slide, rotate, and reposition under force. When the metal cools, that structure “freezes” into whatever arrangement it was in at that moment.
Hardening, softening, cracking, and toughness are all consequences of:
how freely atoms can move when hot
how suddenly that movement is stopped
and what other elements are present in the metal
Steel behaves the way it does because carbon interferes with iron’s crystal structure. Copper behaves differently because it has no such mechanism. Aluminium behaves differently again because of how quickly it conducts heat and how its alloys are formulated.
Once you understand this, forging starts to make sense.
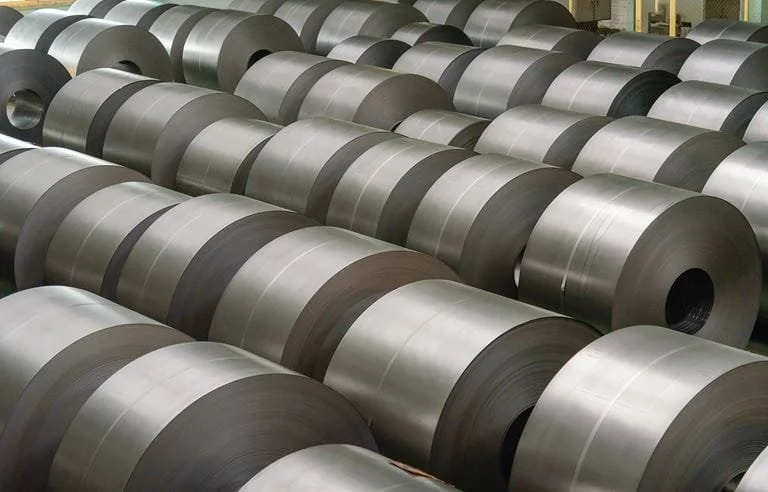
Steel: The Foundation of Blacksmithing
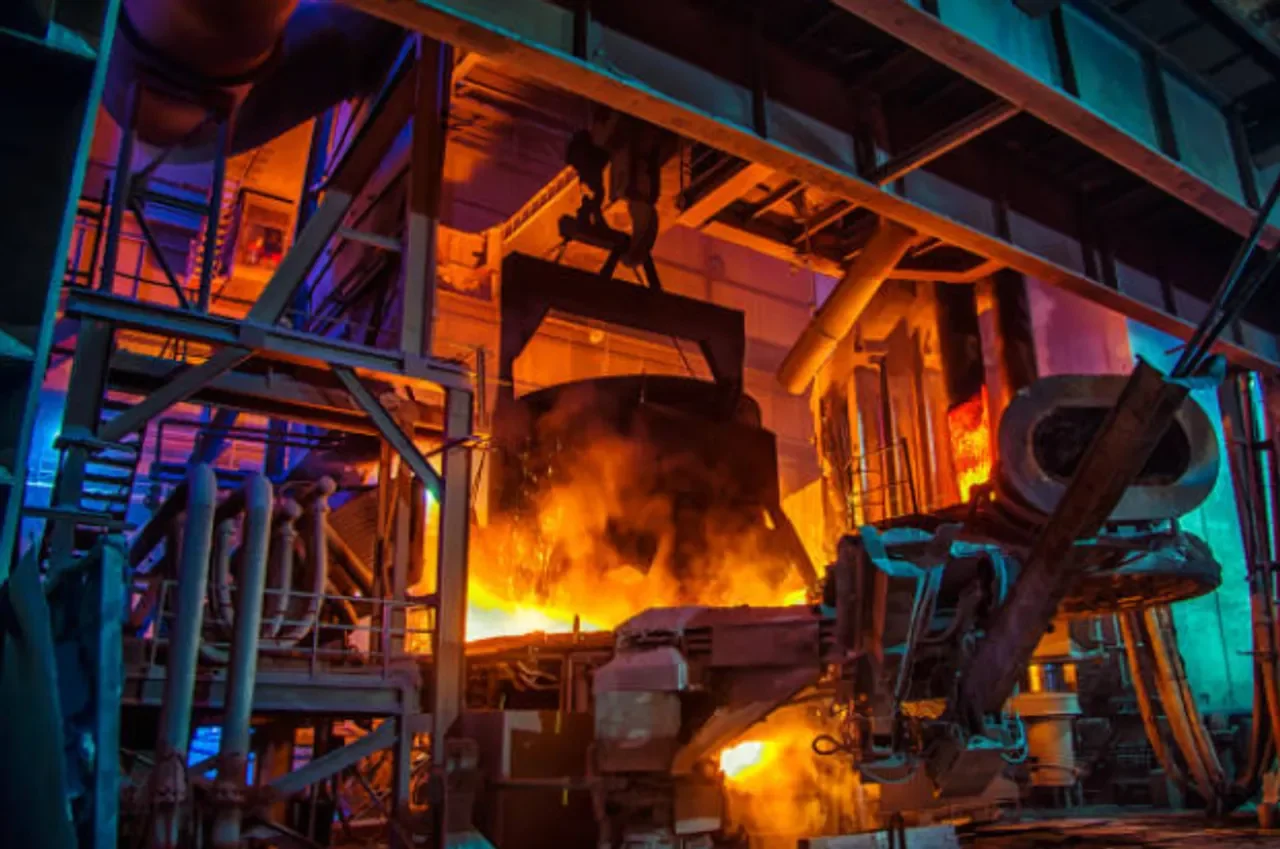

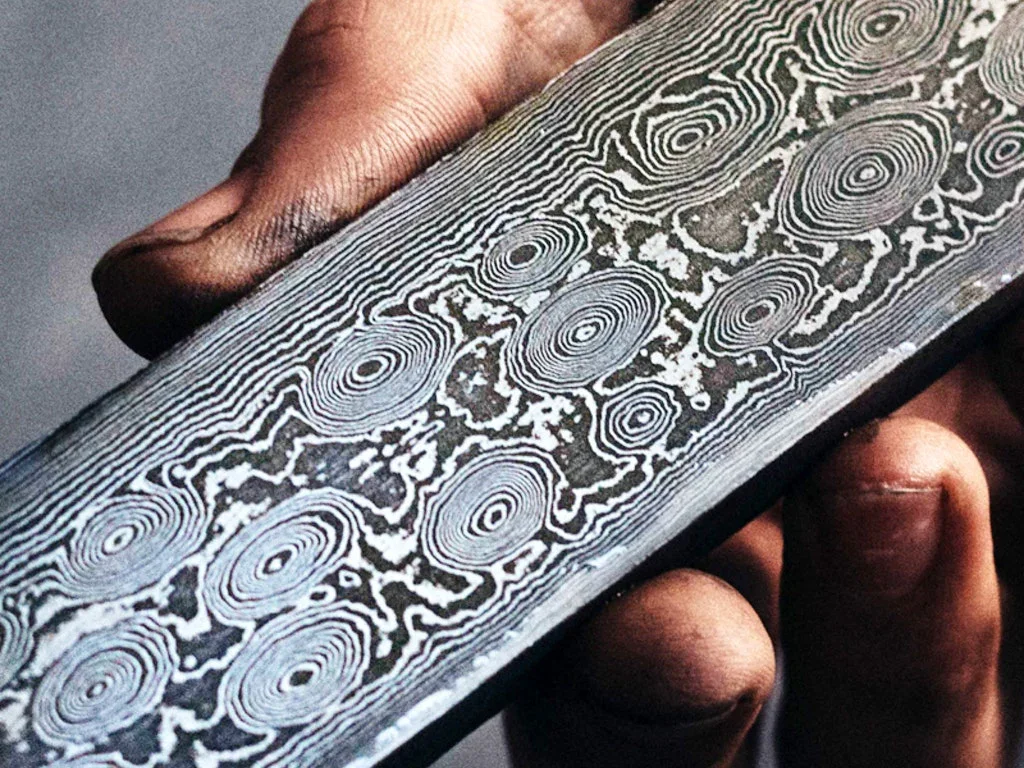
Steel is the material most people associate with blacksmithing, and for good reason. It is strong, widely available, and uniquely adaptable. Its defining feature is carbon dissolved within iron, and that carbon is responsible for almost all of steel’s interesting behaviour.
When steel is heated to a critical temperature, its internal structure changes into a form that can dissolve carbon more freely. How that structure is allowed to cool determines whether the steel becomes soft, hard, tough, or brittle.
Mild (Low-Carbon) Steel
Mild steel contains very little carbon. Because of this, it cannot form a hard structure, no matter how quickly it is cooled.
When you heat mild steel and allow it to cool — even if you quench it in water — the internal structure simply relaxes back into a soft, workable state. This makes it extremely forgiving and ideal for learning hammer control, heat management, and basic shaping.
That forgiving nature is why mild steel is so often recommended for beginners. It allows mistakes without permanent consequences.
Medium-Carbon Steel
Medium-carbon steel sits in the middle ground. It contains enough carbon to harden, but not so much that it becomes extremely brittle.
When heated and cooled correctly, medium-carbon steels can become strong and wear-resistant while still retaining toughness. However, they demand more control. Cooling too quickly can cause cracking, while cooling too slowly may prevent proper hardening.
This category includes many practical tool steels and mechanical components, and it is often where blacksmiths begin learning controlled heat treatment.
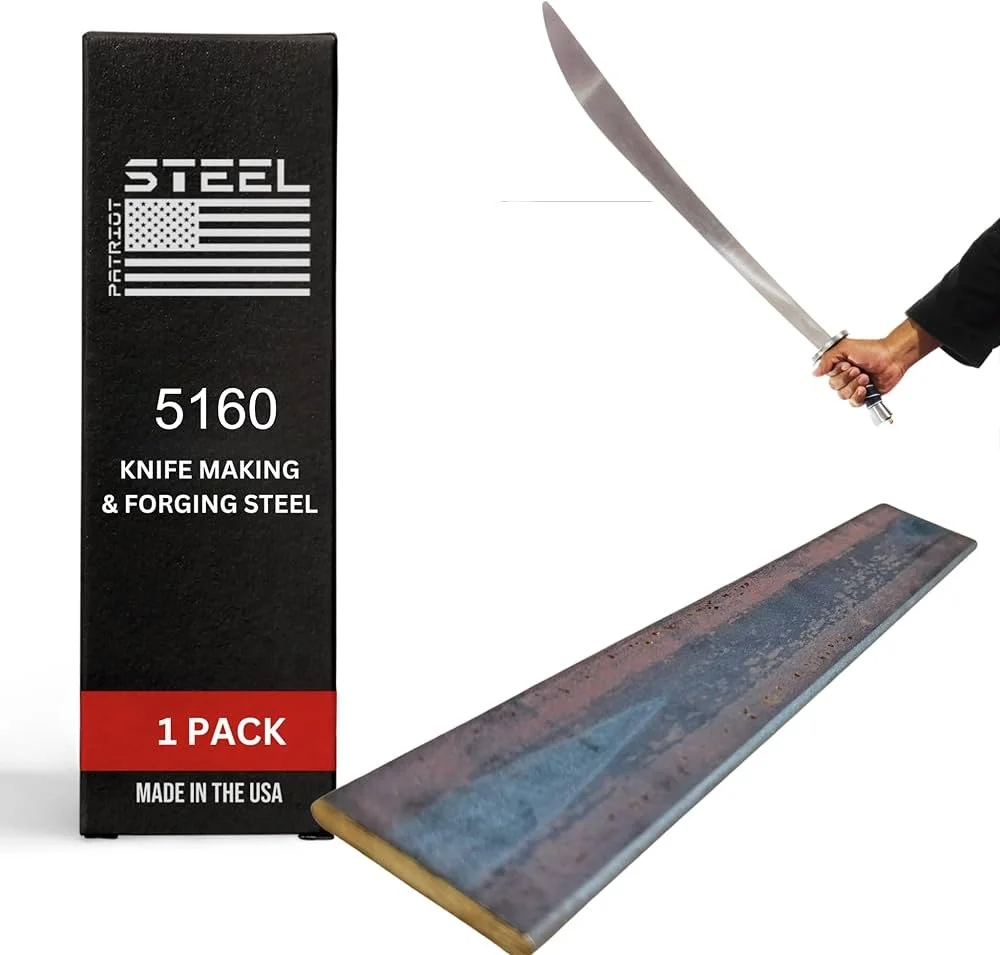
High-Carbon Steel
High-carbon steel contains enough carbon to harden aggressively. This makes it ideal for cutting tools, springs, and blades — but also makes it unforgiving.
When quenched, high-carbon steel undergoes a dramatic structural change that traps carbon in place, forming a very hard but stressed structure. If that stress isn’t relieved through tempering, the steel can crack or fail suddenly.
This is why high-carbon steel rewards precision and punishes guesswork. It is powerful, but it demands respect.
Why Some Steels Harden in Air and Others Need Quenching
One of the most confusing things for beginners is discovering that not all steels require water or oil to harden.
The reason lies in alloying elements.
Some steels contain additional elements such as chromium, molybdenum, or vanadium. These slow the movement of atoms as the steel cools. As a result, even slow cooling in still air is fast enough to lock the structure into a hardened state.
Other steels lack these elements and require much faster cooling — oil or water — to achieve the same effect.
This is why quenching medium or high-carbon steel in water can be dangerous, while an air-hardening steel can safely harden on the bench without any liquid at all.
Work Hardening: A Completely Different Mechanism
Not all metals harden because of heat.
Some metals harden because of mechanical deformation.
When you hammer certain metals at low or moderate temperatures, you distort their crystal structure. As that distortion accumulates, atomic movement becomes restricted, and the metal becomes harder — but also more brittle.
This process is called work hardening, and it behaves very differently from heat hardening.
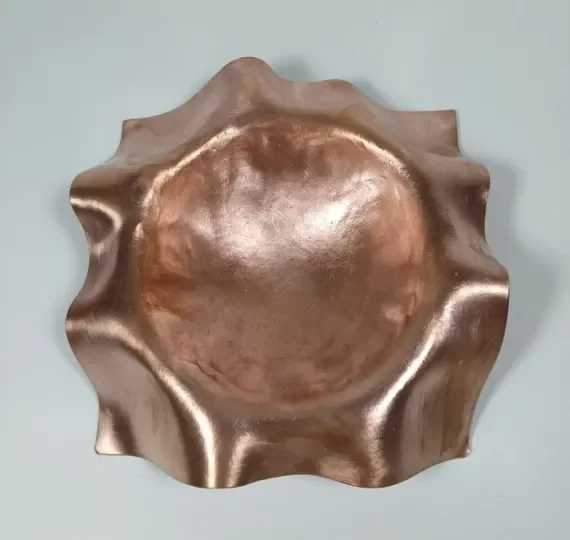
Copper: A Perfect Teacher Material
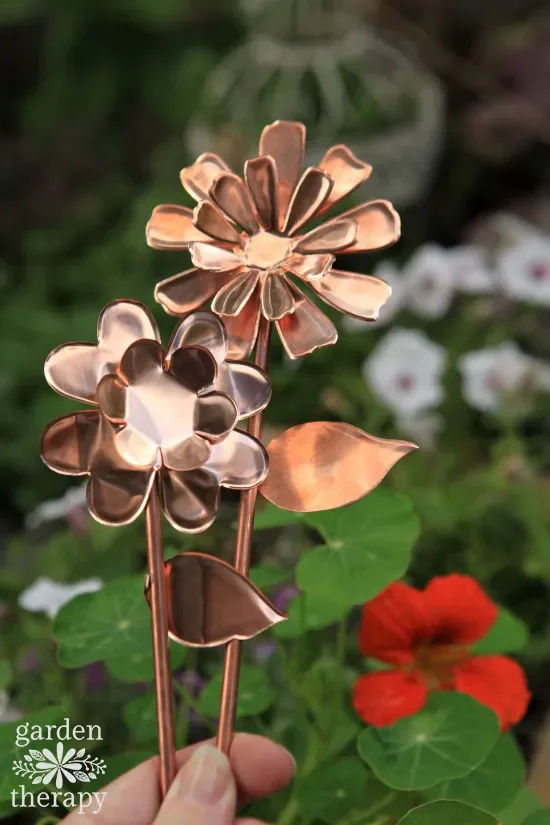


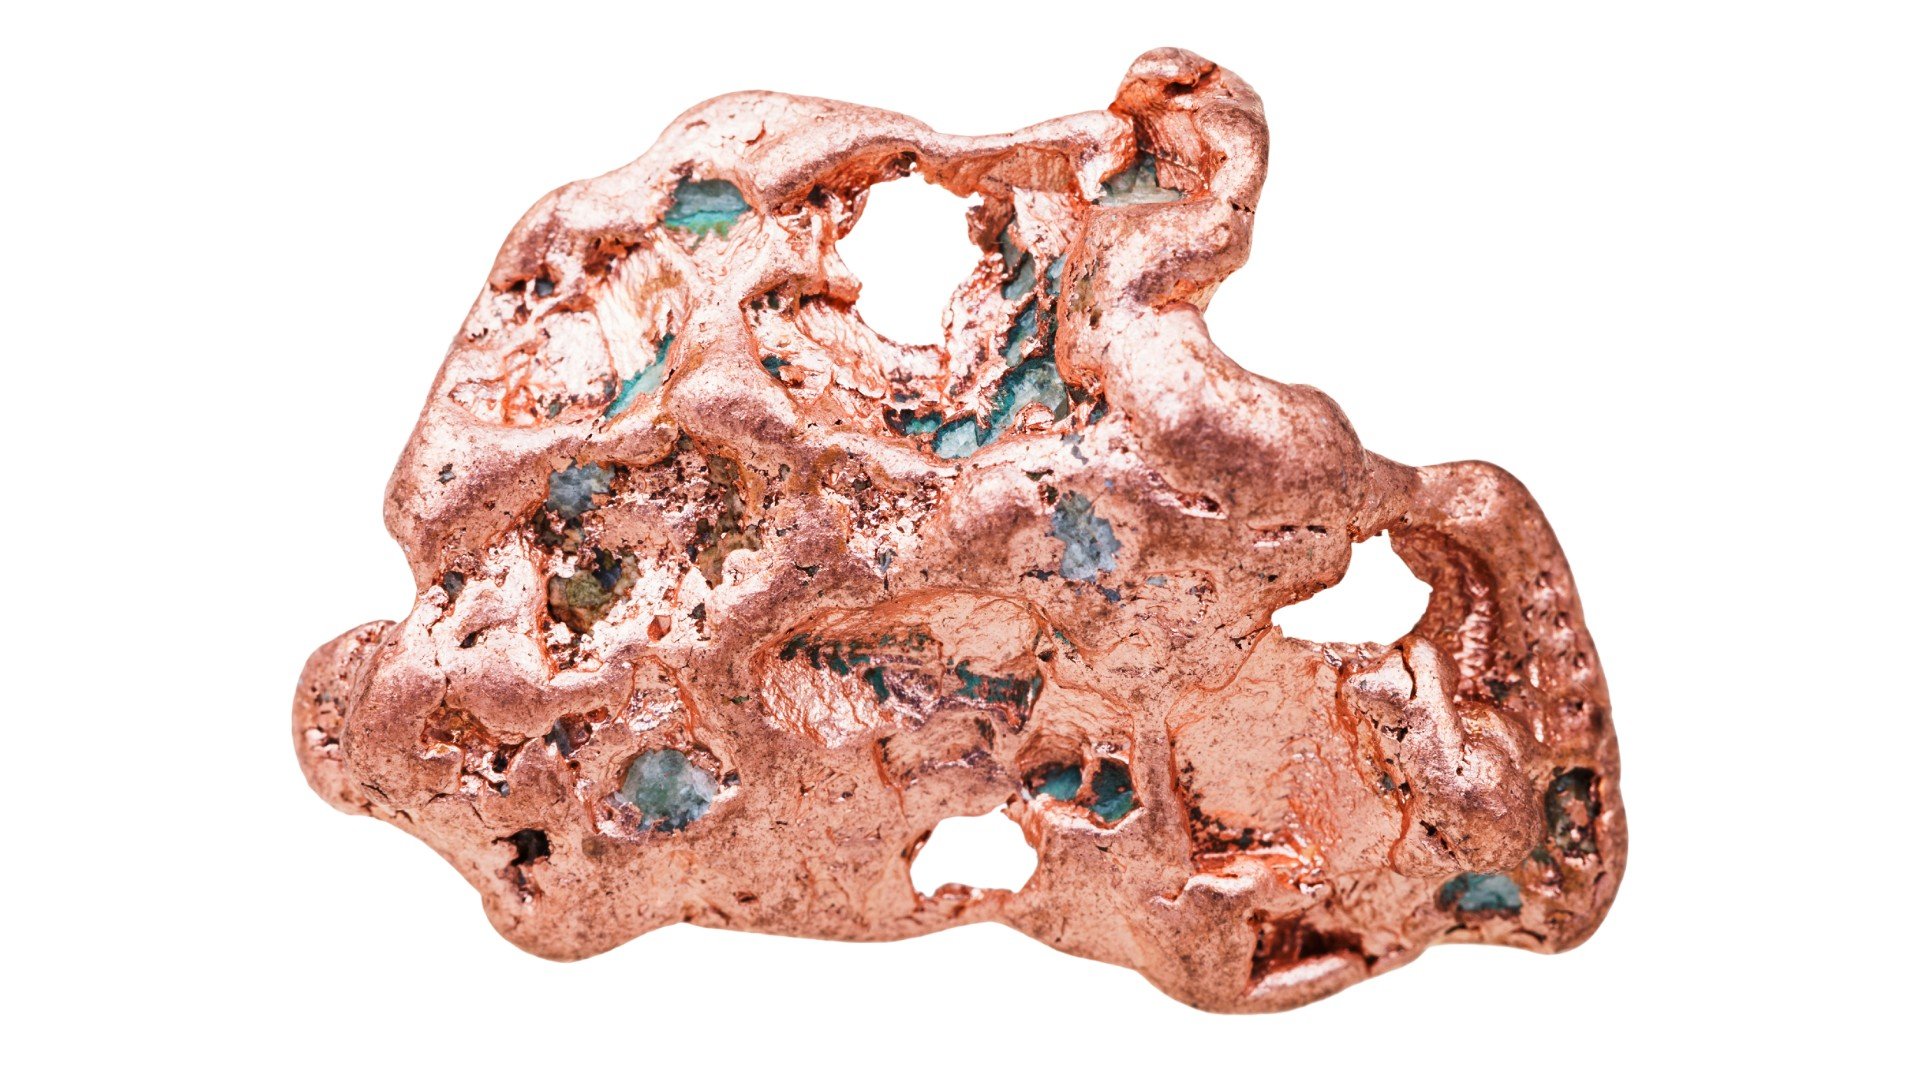
Copper does not harden through quenching. Cooling speed has almost no effect on its hardness.
Instead, copper hardens as you hammer it. Each blow distorts the structure slightly until it becomes stiff and resistant. Heating copper allows that structure to relax, returning it to a soft state.
This creates a repeating cycle:
hammer → harden → heat → soften → repeat.
Because this behaviour is predictable and reversible, copper is an excellent material for learning how metal responds to force and heat without the risks associated with steel hardening.
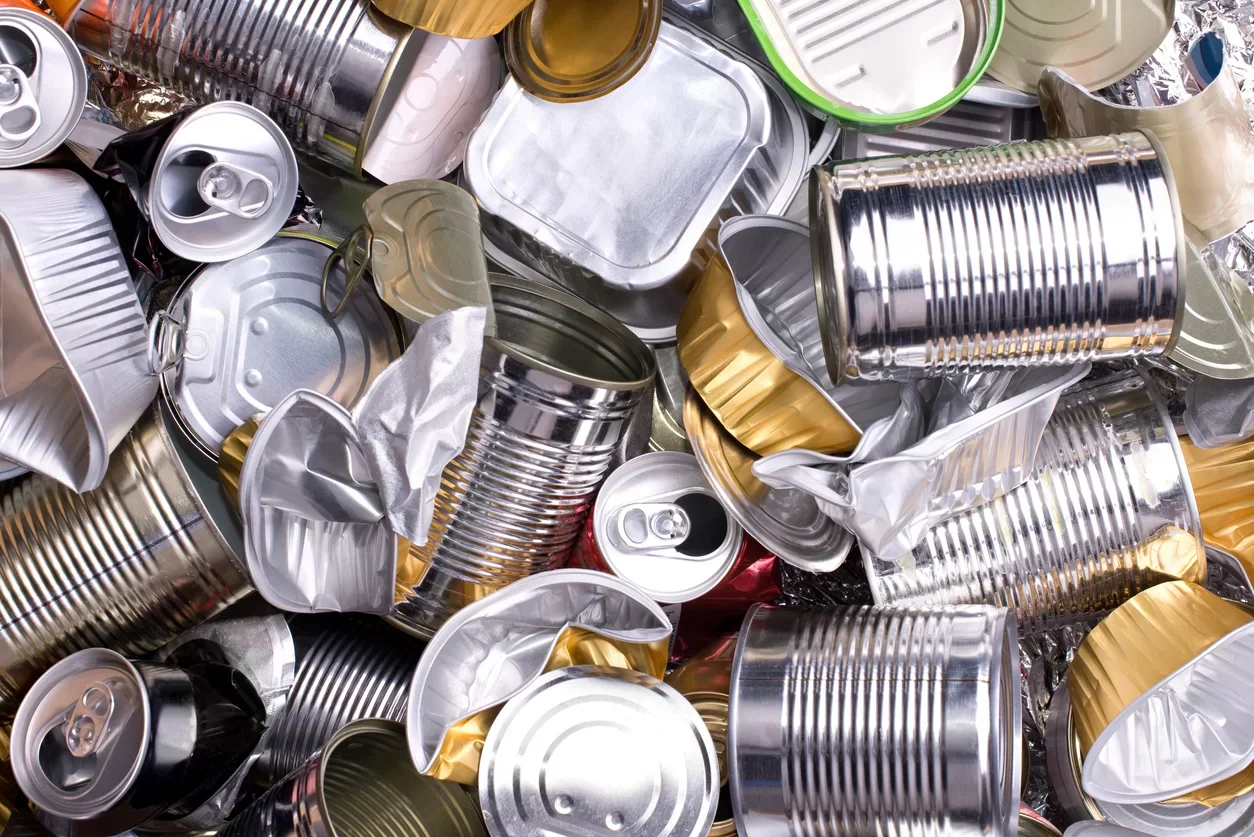
Brass: Stronger, Less Forgiving Copper
Brass is primarily copper with zinc added. That zinc increases strength but reduces forgiveness.
Like copper, brass work hardens as it is hammered. However, it reaches its brittle state much faster and is more prone to cracking if not annealed regularly.
Brass also introduces a safety concern: overheating can release zinc fumes, which are hazardous if inhaled. This makes good ventilation essential when working brass.
Forged carefully, brass is beautiful and strong. Forged carelessly, it fails abruptly.
Aluminium: Deceptively Difficult
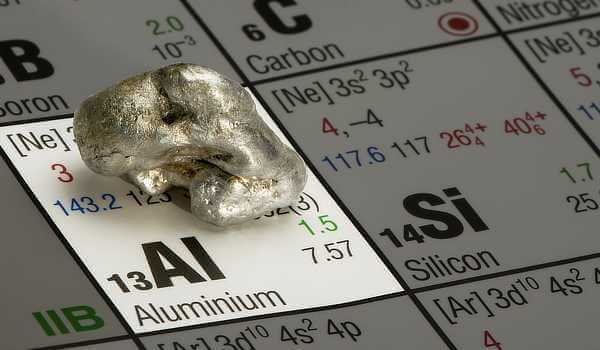

Aluminium is often assumed to be beginner-friendly because it is lightweight and common. In reality, it is one of the least forgiving forging materials.
Aluminium does not change colour visibly as it heats, so it offers almost no visual feedback. It also has a narrow working temperature range and melts suddenly when overheated.
Many aluminium alloys also work harden rapidly, becoming brittle without obvious warning. For these reasons, aluminium is usually better avoided until a smith has good heat awareness and material understanding.
Tin: Why It’s Rarely Forged
Tin has a very low melting point and minimal structural strength. It does not respond well to forging and offers little educational value compared to other metals.
It is far more commonly used in casting or alloyed with copper to create bronze.
Why Quenching Works for Steel — and Not for Other Metals
Steel hardens because carbon becomes trapped inside a rapidly frozen structure. Non-ferrous metals lack that mechanism.
Quenching copper, brass, or aluminium simply cools them. It does not lock their structure into a harder form. Any hardness they gain comes from deformation, not temperature change.
Understanding this distinction prevents many beginner mistakes.
Choosing Materials as a Beginner
Early learning benefits from materials that are:
predictable
forgiving
safe
Mild steel and copper meet those criteria well. High-carbon steel and brass can be introduced gradually. Aluminium and unknown scrap alloys are best left until experience grows.
Final Thought
Blacksmithing becomes dramatically more enjoyable once metal stops feeling mysterious.
When you understand why materials behave the way they do, forging stops being about fighting resistance and starts becoming a conversation between heat, force, and structure.
That understanding is what turns repetition into skill.
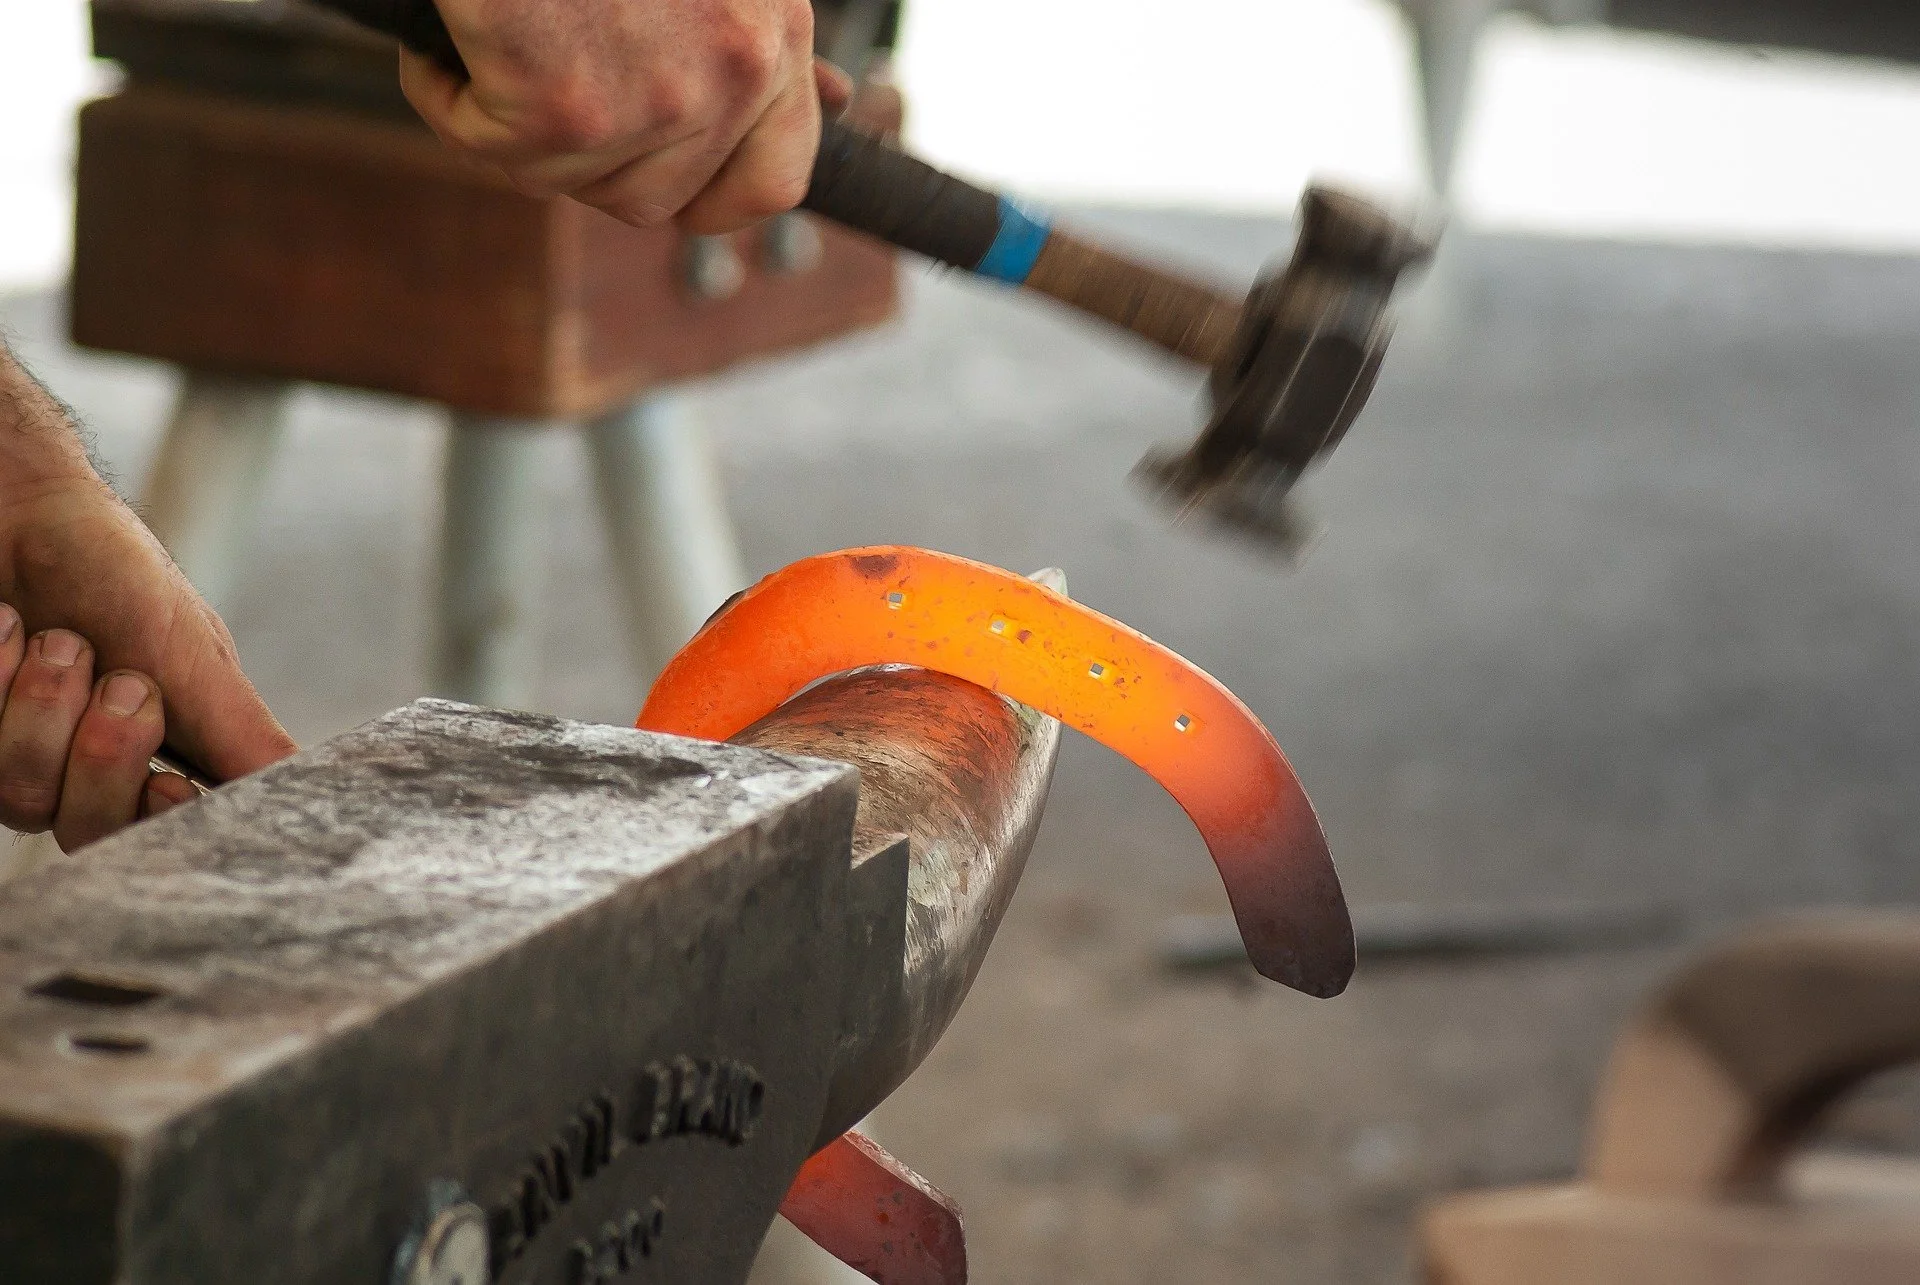
Choosing Your First Blacksmith Hammer: Control, Comfort & Technique
Why Hammers Feel Harder Than They Should
Many beginners struggle with hammer choice not because hammers are complicated — but because most advice skips straight to weight and ignores technique.
If your hammer feels:
tiring
awkward
or difficult to control
…it’s usually not a strength issue. It’s a match issue between hammer, anvil, and how you’re learning to move steel.
This guide approaches hammers from a skill-first perspective, helping you choose a hammer that supports good habits instead of fighting them.
The Real Job of a Blacksmith Hammer
A blacksmith hammer isn’t meant to:
smash steel
rely on brute force
overpower the anvil
Its job is to:
deliver controlled energy
work with anvil rebound
allow repetition without fatigue
That’s why beginners benefit more from the right hammer than from a bigger one.
The Beginner Sweet Spot: Why 2–2.5 lb Works
Before discussing shapes, weight matters.
Most beginners learn fastest with a hammer that:
is heavy enough to move hot steel
light enough to swing repeatedly
forgiving when technique isn’t perfect
For most people, that range is 2–2.5 lb.
Heavier hammers:
punish poor timing
amplify mistakes
increase injury risk
Lighter hammers encourage accuracy — and accuracy moves metal efficiently.
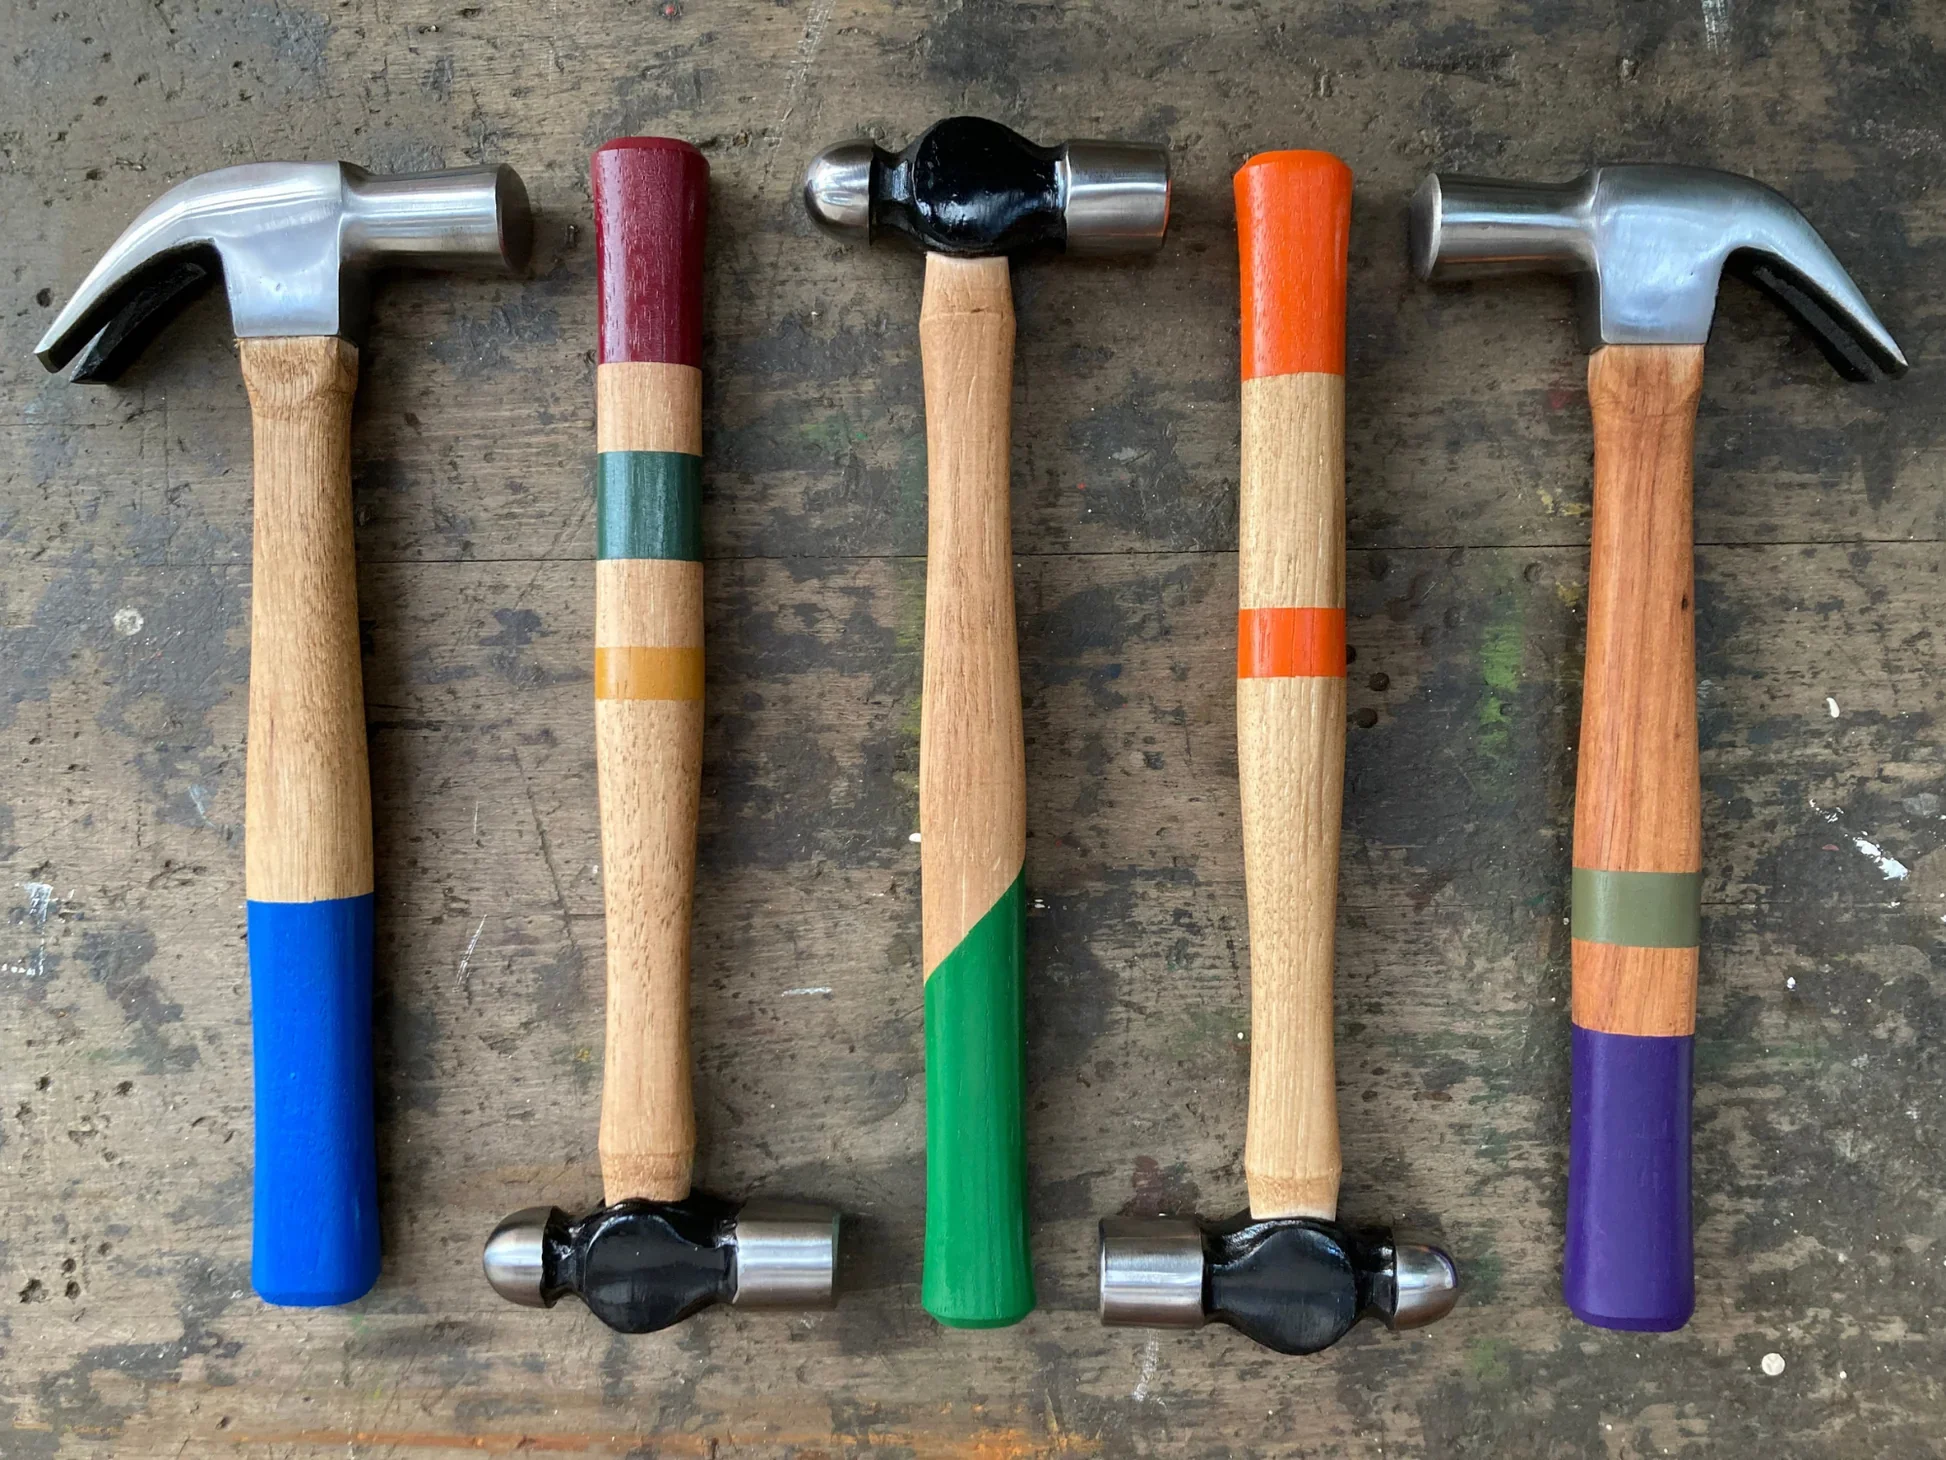
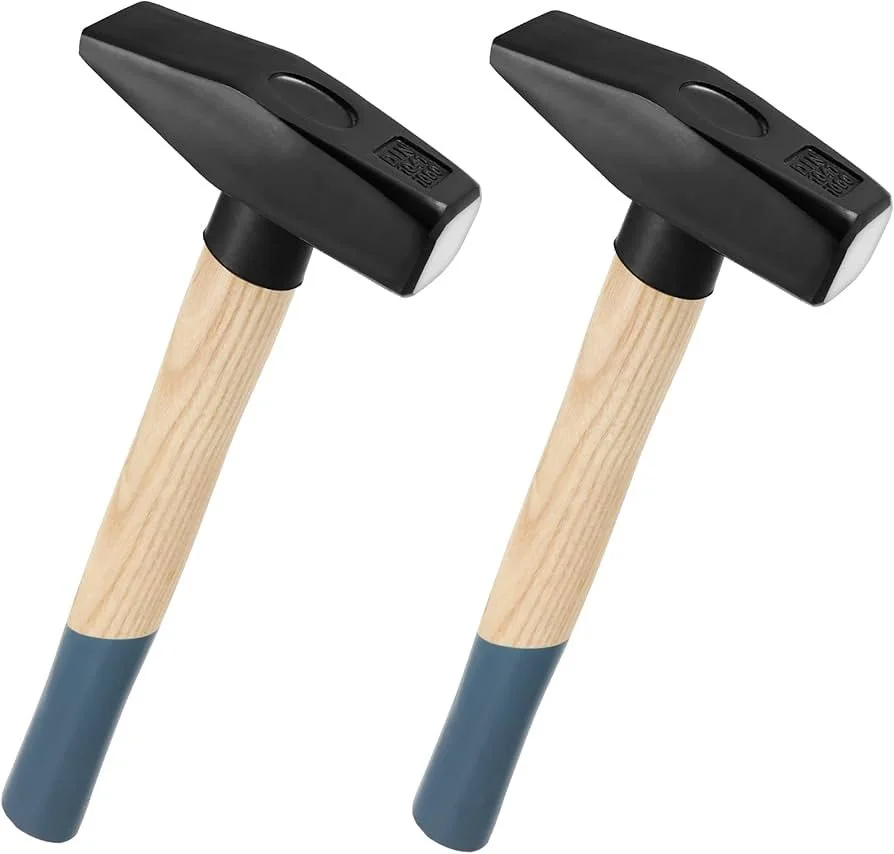
Hammer Shapes Explained Through Use (Not Names)
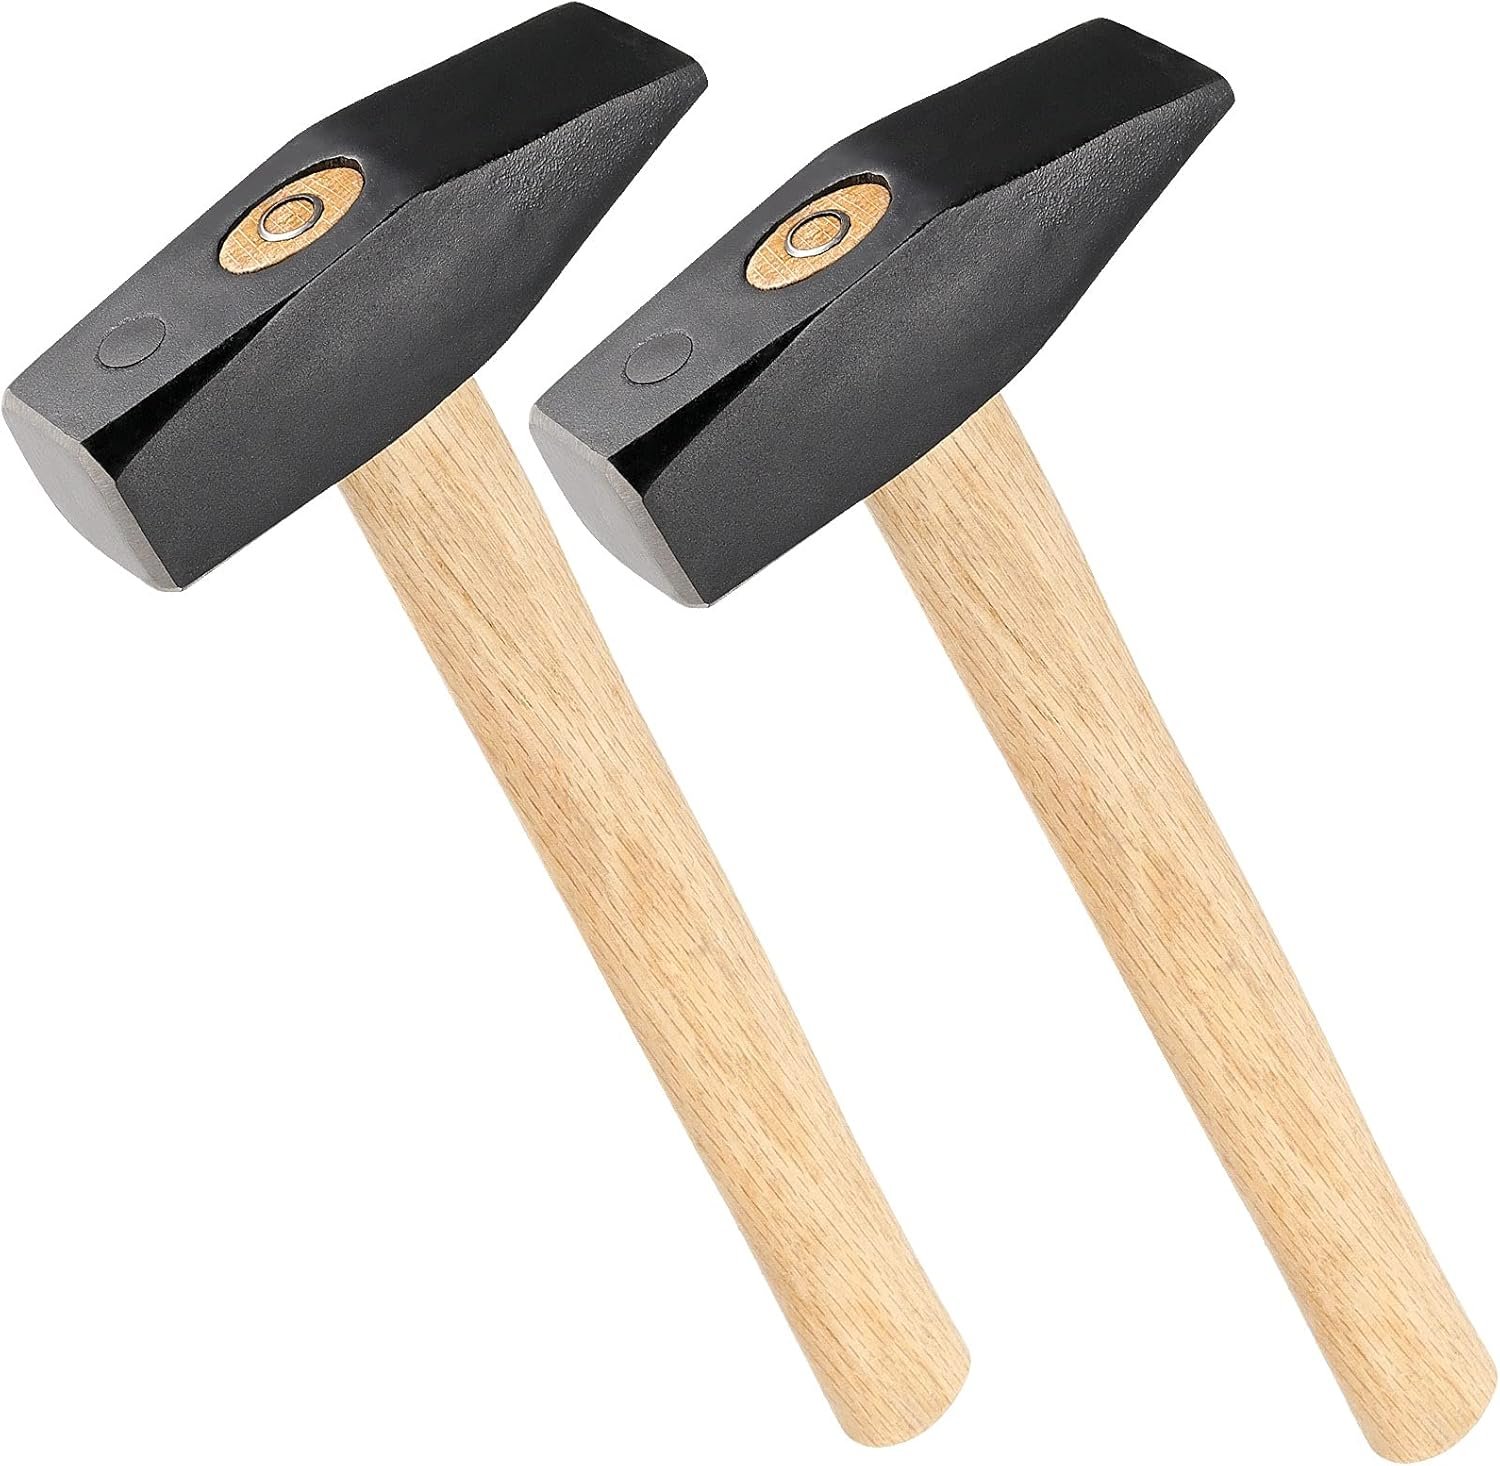
When You’re Learning to Draw Out Steel
A cross-peen hammer shines here.
The peen concentrates force and teaches you how steel flows under controlled blows.
This is why it’s so often recommended as a first hammer.
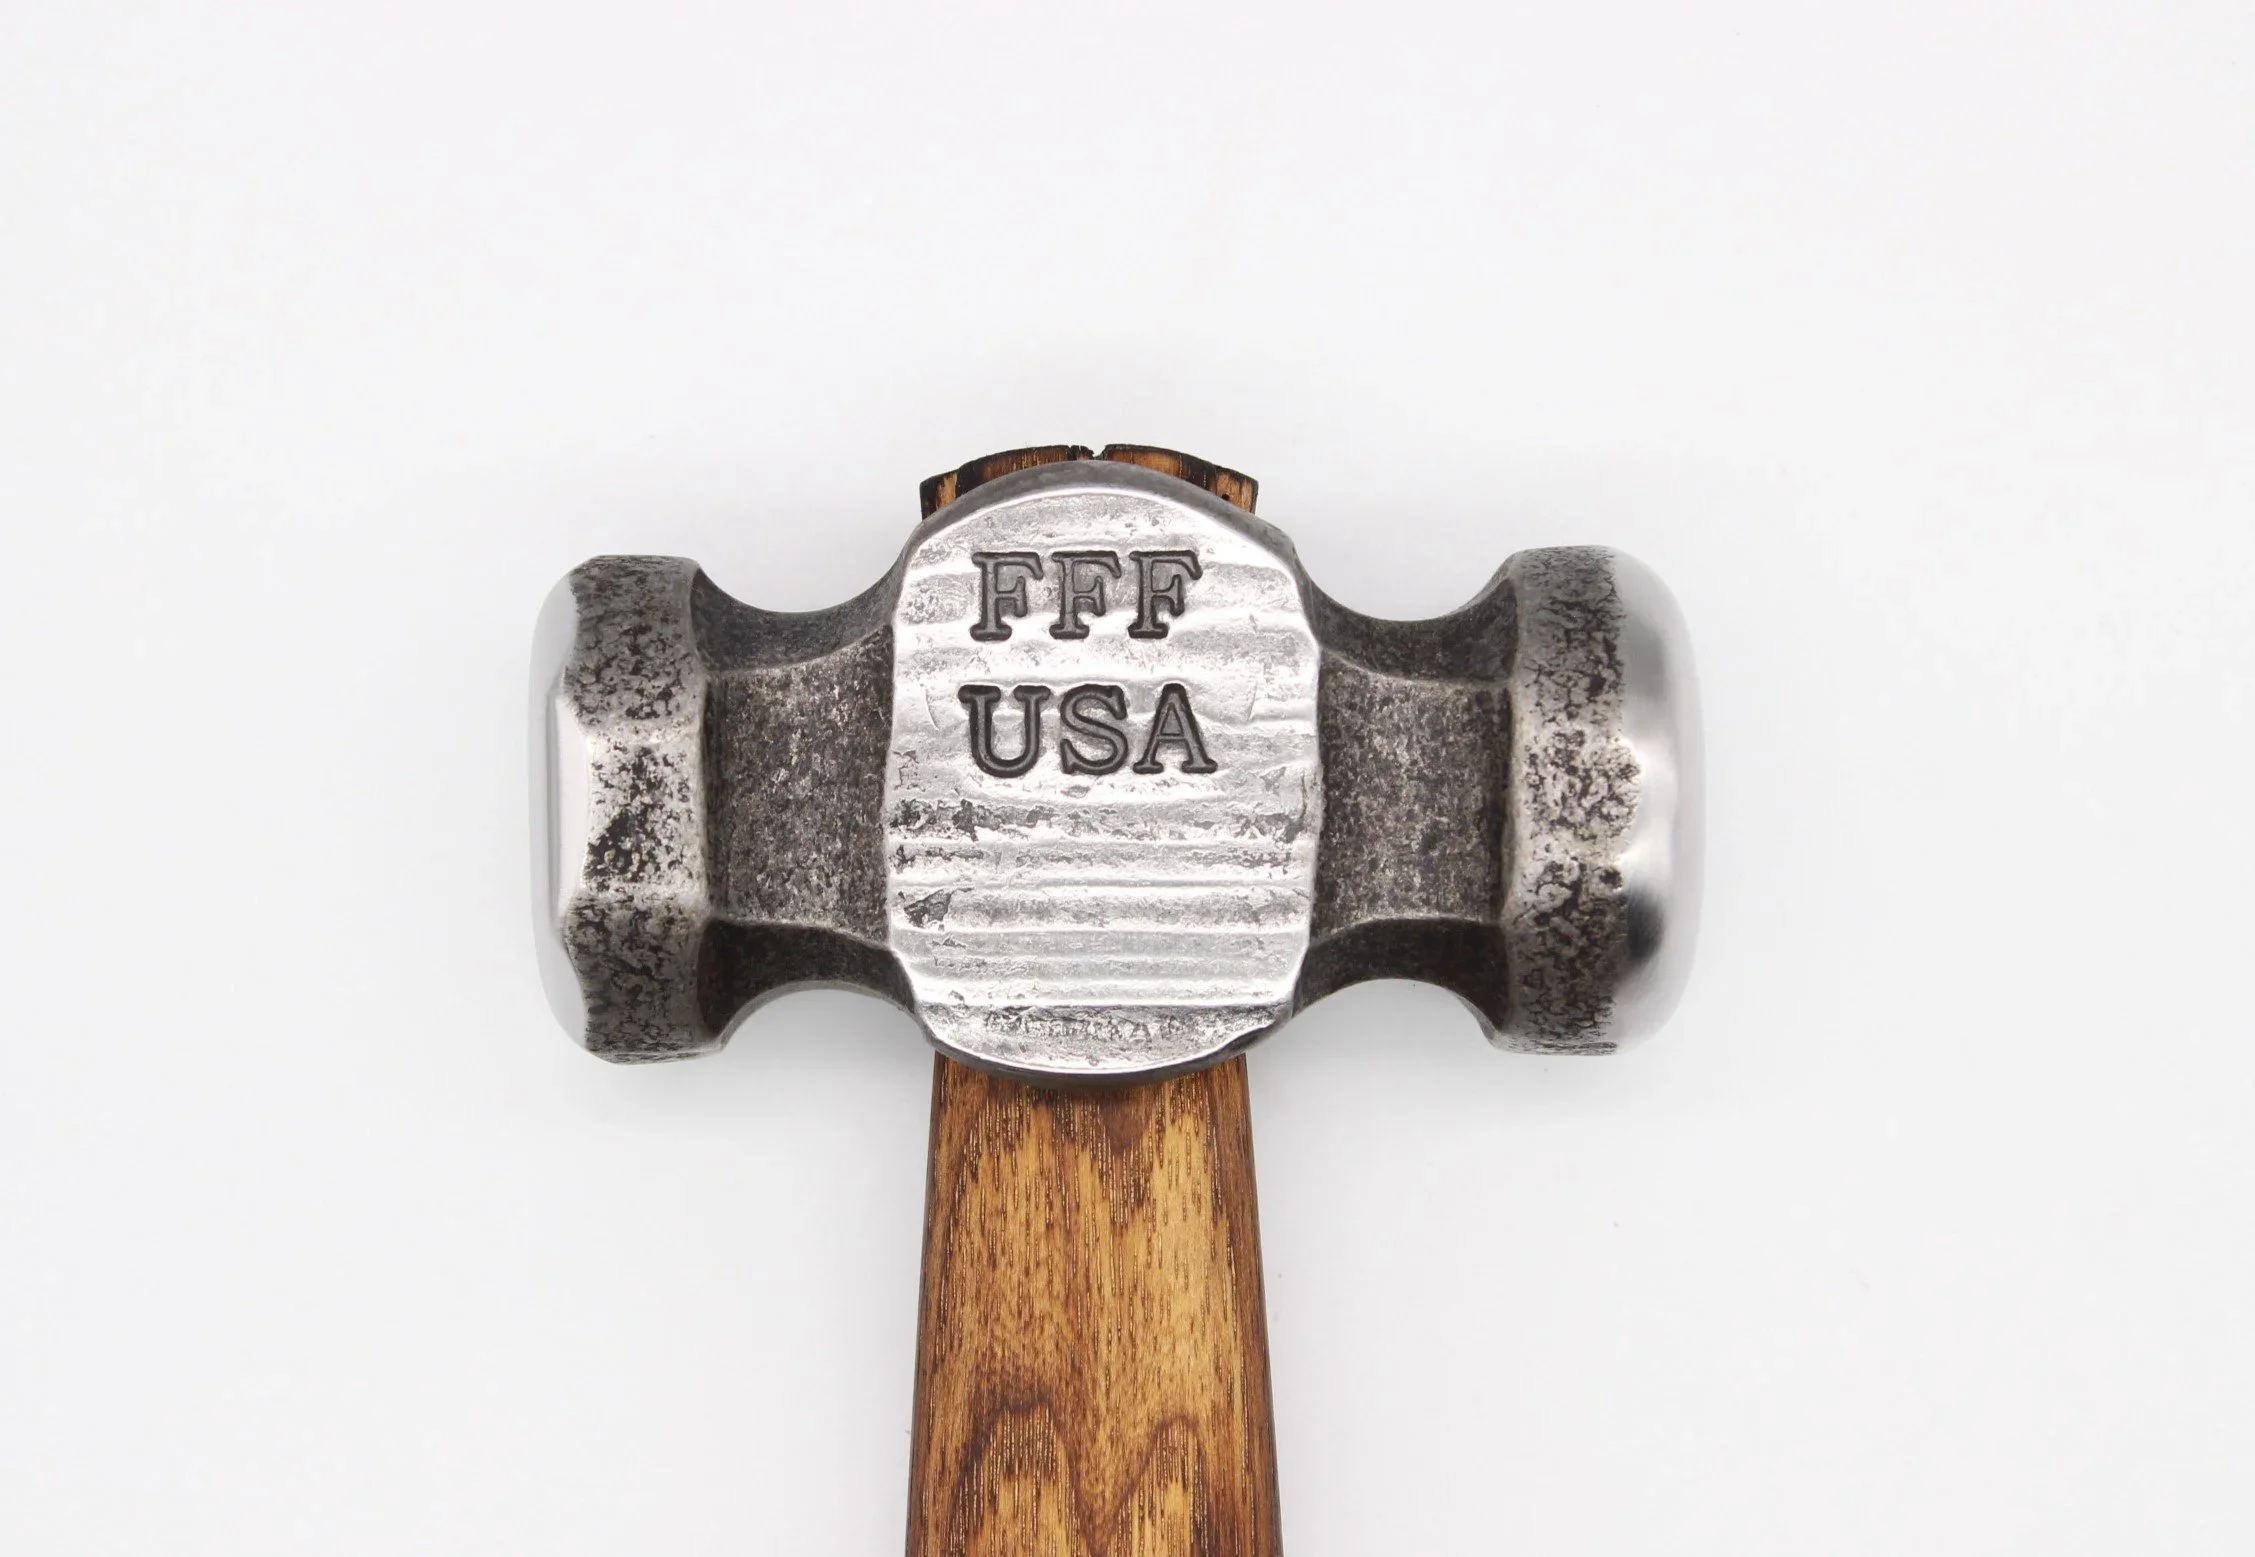
When You’re Learning Control and Flow
A rounding hammer rewards good timing and relaxed swings.
It’s less intuitive at first, but many smiths migrate to one as their technique improves.
When You Want Straight-Line Control
A straight-peen hammer offers precision but slightly less flexibility for beginners.
Still a solid choice — just more specialised.
Why Hammer Faces Matter More Than Shape
Many beginner problems come from sharp hammer edges, not the hammer itself.
A good beginner hammer should have:
softened edges
a smooth face
no sharp transitions
This prevents:
deep hammer marks
cold shuts
unnecessary rework
Most hammers need light dressing before first use.
Handle Feel: The Most Personal Choice
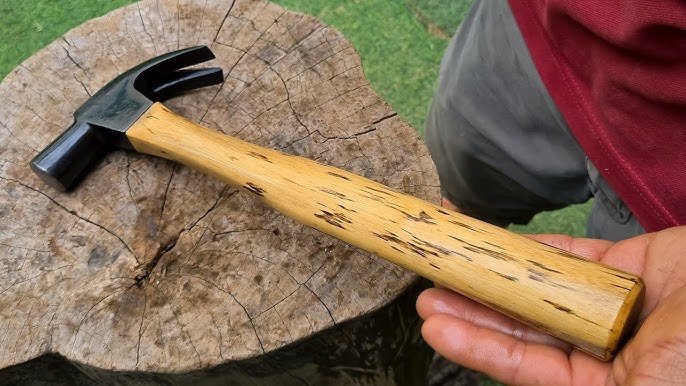


This is where personal preference matters.
Wooden Handles
absorb shock
feel “alive” in the hand
easy to replace
Composite Handles
durable
weather-resistant
slightly harsher vibration for some
If a hammer feels uncomfortable, you’ll fight it — no matter how “good” it is.
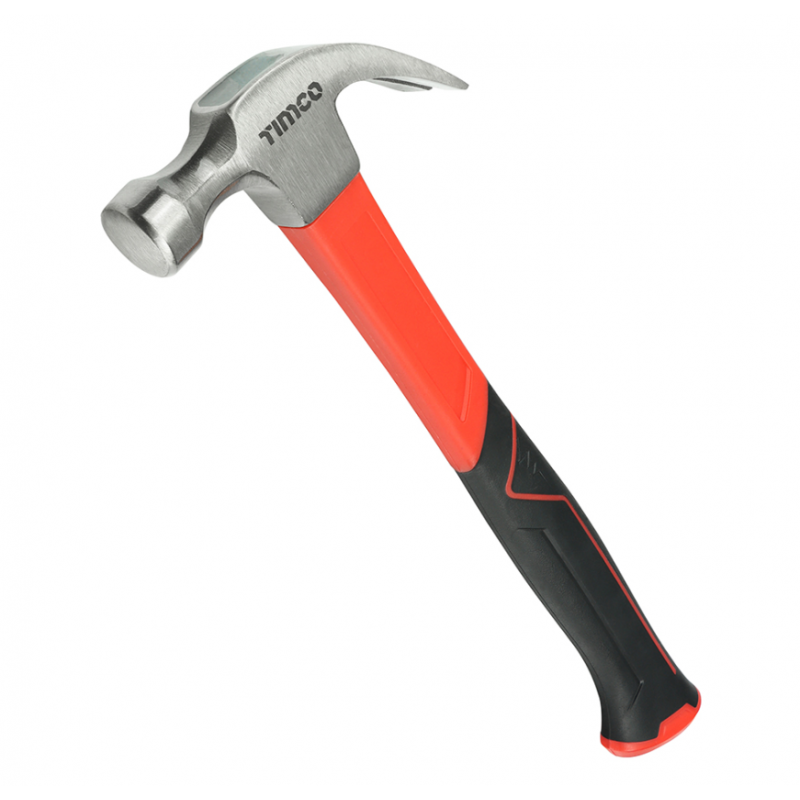
Hammers Beginners Often Buy Too Early
You do not need:
sledges
heavy striking hammers
specialty forming hammers
These tools are useful after control is developed — not before.
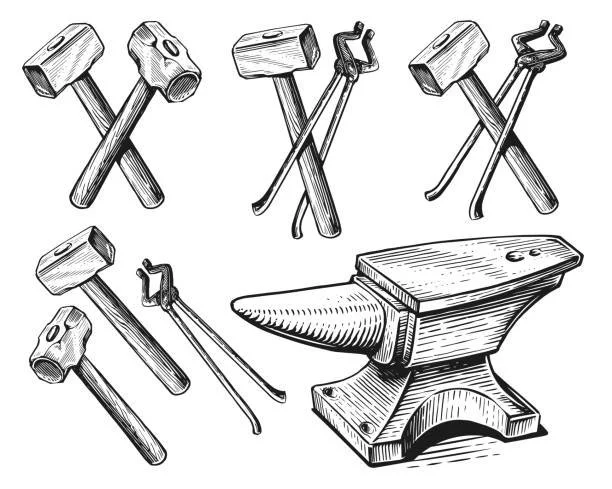
How the Hammer, Anvil, and You Work Together
Hammer efficiency depends on:
anvil rebound
solid mounting
relaxed grip
rhythm
A lighter hammer on a well-mounted anvil will outperform a heavier hammer on a poor setup every time.
A Simple Beginner Hammer Strategy
Start with:
one well-balanced hammer
focus on control and consistency
dress it properly
forge often
Add variety later only when your work demands it.
Final Thought
The best beginner hammer isn’t the one that looks impressive — it’s the one that:
encourages good habits
protects your joints
lets you forge longer and better
Control builds skill.
Skill moves steel.

Best Beginner Anvils: New, Used & Recycled Options
Best Beginner Anvils: New, Used & Recycled Options
Introduction
Once you understand what makes a good anvil — rebound, mass, material, and mounting — the next question is obvious:
What anvil should I actually start with?
For beginners, there isn’t one “correct” answer. A great first anvil depends on:
budget
availability
space
and how much improvisation you’re comfortable with
This guide breaks down the three realistic beginner routes:
buying a new anvil
buying a used anvil
using recycled or alternative steel
Each option can work extremely well if chosen wisely.
Quick Answer: The Best Beginner Anvil Option
For most beginners:
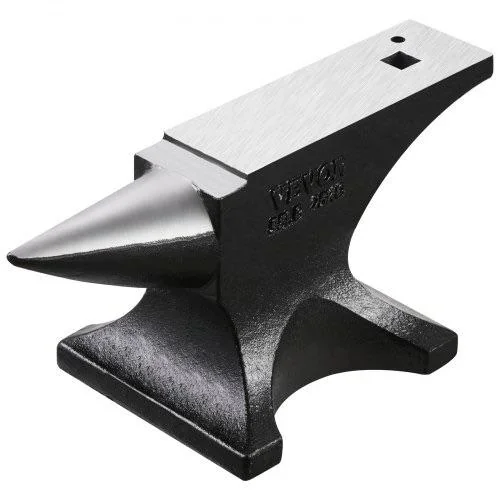
a steel anvil in the 30–50 kg range is ideal
used or recycled steel can perform just as well as new
cast iron “anvils” should be avoided
Skill matters more than price — many excellent blacksmiths started on very simple anvils.
Option 1: Buying a New Beginner Anvil
When a New Anvil Makes Sense
Buying new is a good option if you:
want a known material and condition
prefer a clean, ready-to-use tool
don’t want to hunt for used steel
What to Look For in a New Anvil
Focus on:
cast steel or forged steel construction
flat, even working face
clean edges (or edges that can be softened)
solid rebound
Avoid anything described as cast iron — these are often sold cheaply and perform poorly.
Pros
predictable performance
no hidden damage
ready to use immediately
Cons
higher upfront cost
not always better than used steel
Option 2: Buying a Used Anvil
Why Used Anvils Are Excellent for Beginners
Used anvils were often made from high-quality steel and designed for real work. Minor cosmetic damage rarely affects performance.
What to Check Before Buying
Rebound: light hammer tap or ball test
Face condition: cracks are a red flag, surface wear is fine
Edges: chipped edges can usually be dressed
Ring: excessive dead sound can indicate internal issues
Pros
excellent steel quality
often better value than new
proven durability
Cons
availability varies
requires inspection and patience
Used anvils reward knowledge more than money.
Option 3: Recycled & Alternative Anvils (Very Beginner-Friendly)
Recycled steel is one of the most underrated beginner options — and often the smartest.
Railway Track Anvils
Railway track is made from high-grade steel and can make a very effective anvil.
Best orientation:
mounted vertically, not flat
mass concentrated directly under the hammer
Advantages:
excellent rebound
very durable steel
often inexpensive or free
Limitations:
narrow working surface
no traditional horn or holes
For learning hammer control and basic forging, rail track performs extremely well.
Solid Steel Blocks & Industrial Offcuts
Other excellent alternatives include:
forklift tines
large steel billets
heavy machine offcuts
What matters most:
mass
rebound
solid mounting
Shape is secondary.
Mounting Matters More Than the Anvil Itself
A well-mounted anvil:
improves rebound
reduces noise
saves energy
improves control
Key principles:
no movement
solid base (wood, stump, steel stand)
correct height (roughly knuckle height when standing)
A modest anvil mounted properly will outperform an expensive anvil on a poor stand.
Common Beginner Mistakes
❌ Buying cast iron because it’s cheap
❌ Chasing size over quality
❌ Ignoring rebound
❌ Overspending early
❌ Forgetting mounting entirely
Anvils don’t make blacksmiths — practice does.
Recommended Beginner Path
If you’re just starting out:
Prioritise steel and rebound
Aim for 30–50 kg, but don’t stress
Consider used or recycled steel
Spend time on proper mounting
Upgrade only when your work demands it
Many skilled blacksmiths still use their first anvil decades later.
Next Article
Best Blacksmith Hammers for Beginners: Weight, Shape & Control
Best Anvil for Beginner Blacksmiths: Size, Rebound & Practical Alternatives
When beginners ask what anvil they should buy, the conversation often focuses on size alone. While size is important, it’s only one part of what makes an anvil effective.
A great anvil is defined by:
rebound
mass and stability
usable features
material quality
and suitability for the type of work you plan to do
This guide explains what actually makes a good anvil for beginners, how big it really needs to be, and when alternative or recycled options can work just as well as traditional anvils.
If you’re still planning your overall setup and budget, it’s worth reading our guide on how much it costs to start blacksmithing and our breakdown of essential blacksmith tools for beginners.
What Makes a Good Beginner Anvil?
Quick Answer:
For most beginners, a good anvil:
weighs 30–50 kg (65–110 lb)
has good rebound
is made from steel (not cast iron)
is mounted solidly
has a flat, usable working face
You don’t need a traditional or expensive anvil to start forging effectively.
Why Anvil Weight Matters (But Isn’t Everything)
Mass = Energy Efficiency
An anvil works by returning energy from your hammer blow back into the steel. The heavier and more stable the anvil, the less energy is lost with each strike.
For beginners:
Too light → tiring, inefficient forging
Too heavy → expensive and unnecessary early on
A modestly sized anvil used well will outperform a larger anvil used poorly.
Rebound: The Most Important Anvil Quality
What Is Rebound?
Rebound refers to how much energy an anvil returns when struck.
A simple test:
Drop a small steel ball or lightly tap with a hammer
A good anvil will return a noticeable bounce
Why Rebound Matters
Less effort per strike
Better hammer control
Reduced fatigue
Cleaner, more consistent forging
A smaller anvil with strong rebound will outperform a larger anvil with poor rebound every time.
Anvil Materials: What to Look For (and Avoid)
✔ Steel (Best Choice)
Forged steel or cast steel
Excellent rebound
Durable working face
❌ Cast Iron (Avoid)
Poor rebound
Brittle and prone to chipping
Absorbs hammer energy
Many low-cost anvils are made from cast iron and are best avoided.
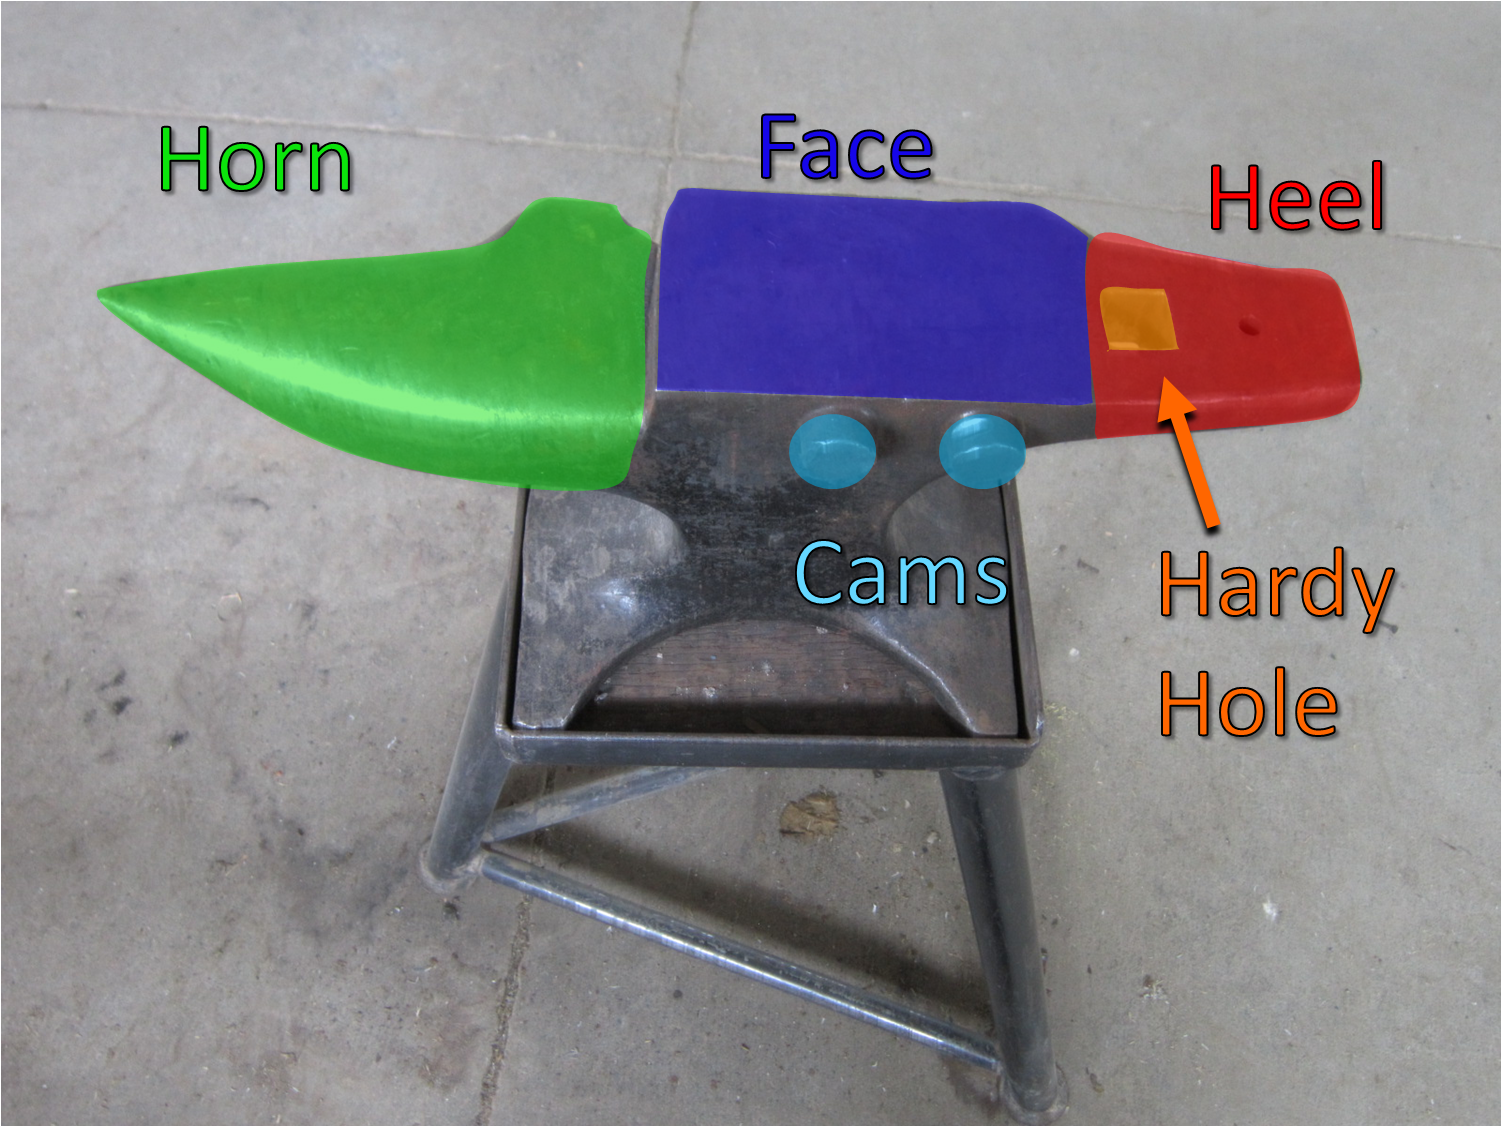
Anvil Features: What You’ll Actually Use
Beginners often assume every anvil feature is essential. In practice, only a few matter early on.
The Face
Flat and smooth surface is critical
Minor wear is acceptable
Edges can be softened slightly for safety
The Horn
The Face
Flat and smooth surface is critical
Minor wear is acceptable
Edges can be softened slightly for safety
The Horn
Used for bending and forming curves
Helpful, but not essential for early projects
Hardy Hole
Square hole for tooling
Very useful long-term
Not required on day one
Pritchel Hole
Round hole for punching
Rarely used by beginners
A good anvil doesn’t need every feature to be effective.
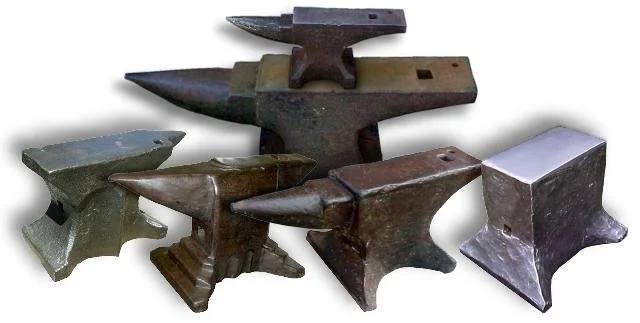
Common Anvil Styles
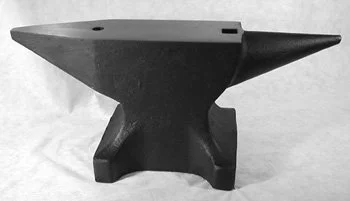
Traditional Pattern Anvils
Flat face with horn and hardy hole
Very versatile
Excellent, but not required to begin
Continental / European Patterns
Often heavier faces
Excellent working surfaces
Common in many workshops
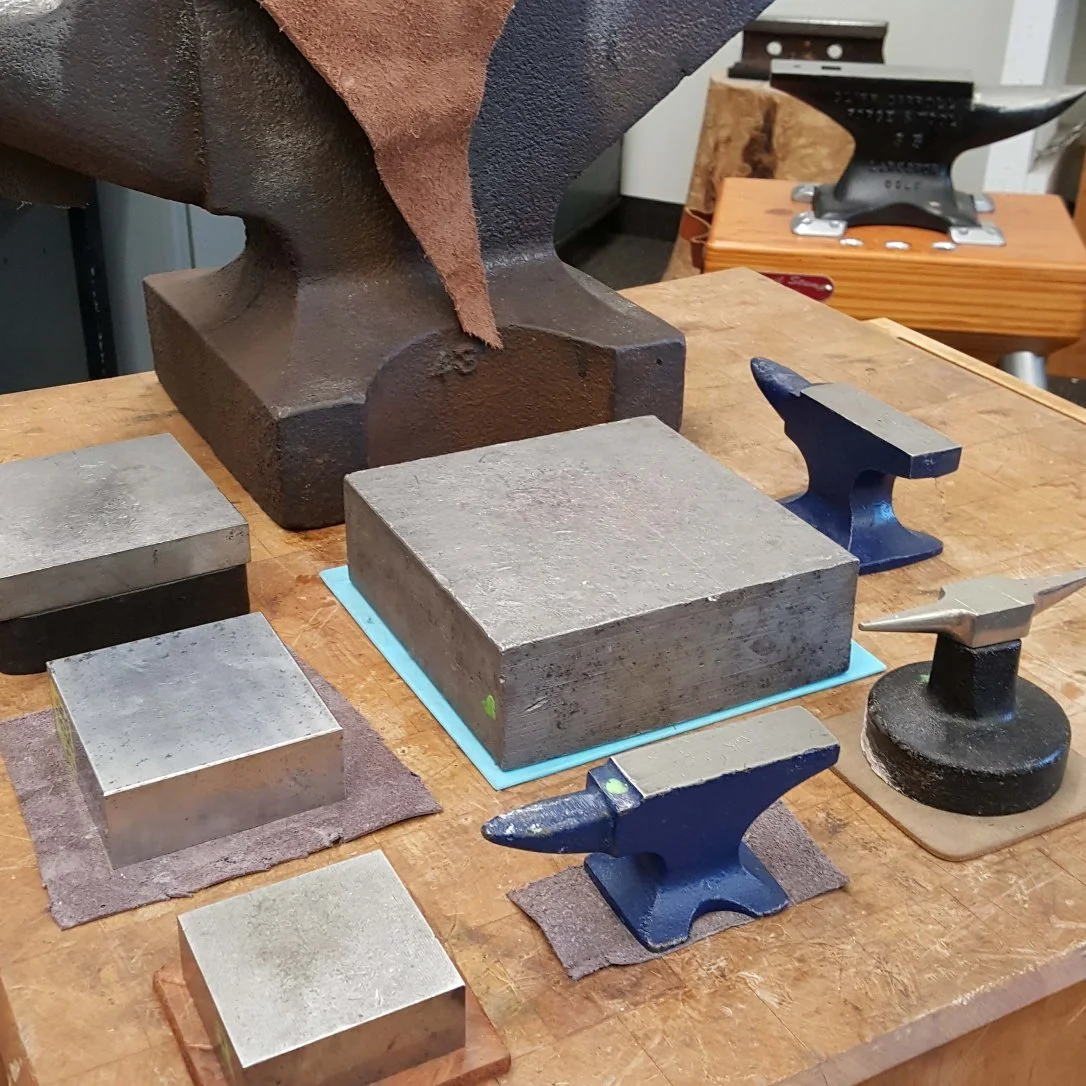
Bench and Block Anvils
Compact and affordable
Suitable for small projects
Limited versatility
All can work well depending on availability and budget.
Recycled & Alternative Anvils (Highly Viable)
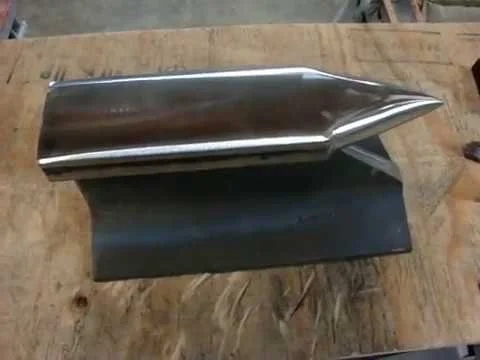
Railway Track Anvils
Railway track is one of the most popular alternative anvil materials.
Pros:
High-quality steel
Good rebound
Often inexpensive or free
Cons:
Narrow working surface
Limited traditional features
Mounted securely, railway track can perform extremely well, especially when oriented vertically.
Solid Steel Alternatives
Large steel blocks
Forklift tines
Machine offcuts or billets
What matters most is:
Mass directly under the hammer
Stability
A clean working surface
Shape is secondary to performance.
Mounting Your Anvil (Often Overlooked)
Even an excellent anvil will perform poorly if mounted badly.
Good Mounting Principles
Solid base (wood block, stump, or steel stand)
No movement or wobble
Height roughly at knuckle level when standing
Proper mounting dramatically improves rebound and comfort.
Common Beginner Mistakes
❌ Buying cast iron because it’s cheap
❌ Obsessing over horn shape
❌ Overspending early
❌ Ignoring rebound and mounting
An anvil is a working tool, not a display piece.
Recommended Beginner Approach
If you’re starting out:
Prioritise rebound and stability
Aim for 30–50 kg, but don’t stress if smaller
Consider used or recycled steel options
Invest time in proper mounting
Upgrade later if your work demands it
Many experienced blacksmiths forged successfully for years on simple setups.
How This Fits Into Your Setup
This guide works alongside:
Together, these guides answer:
What do I need, why do I need it, and what should I prioritise first?
Final Thoughts
A great anvil isn’t defined by tradition or price — it’s defined by how effectively it returns energy and supports your work.
Whether that’s a traditional anvil, a block of steel, or a piece of railway track, the goal is the same:
efficient, controlled forging with minimal effort.
Start practical. Upgrade when your skills demand it.

Essential Blacksmith Tools for Beginners (What You Actually Need)
Introduction
When you first get into blacksmithing, it’s easy to think you need a workshop full of specialist tools before you can start.
You don’t.
In reality, beginner blacksmithing requires far fewer tools than most people expect. This article focuses on explaining which tools are genuinely required for beginners, rather than promoting full tool lists or expensive equipment.
If you’re still working out your overall budget, you may want to read our full breakdown of [how much it costs to start blacksmithing in the UK] first.
Quick Answer: Beginner Blacksmith Tool List
At a minimum, beginner blacksmiths need:
A forge
An anvil (or solid anvil substitute)
One or two hammers
A basic pair of tongs
Safety equipment
Everything else is optional early on.
🔥 Forge (The Heart of Your Setup)
A forge is essential — it’s what heats steel to forging temperature.
For beginners, a single-burner propane forge is usually the easiest and cleanest option, especially for home workshops in the UK.
Why propane works well for beginners:
Easy temperature control
Minimal setup
No solid fuel storage
Cleaner and more consistent heat
👉 If you’re deciding between propane and solid fuel, we cover the cost and setup differences in detail in [this beginner cost guide].
⚒️ Anvil (You Don’t Need a Monster)
Despite popular belief, beginners do not need a huge anvil.
Good beginner anvil size:
Around 30–50 kg
What matters most is:
Solid rebound
Stable mounting
Flat working surface
Cast steel anvils are perfectly acceptable when starting out. Many beginners also use solid steel blocks or rail anvils initially.
🔨 Hammers (One Is Enough to Start)
You only need one hammer at the beginning.
Best beginner choice:
2–2.5 lb cross-peen hammer
This hammer allows you to:
Draw out steel
Shape edges
Control material movement
A rounding hammer can be added later, but it’s not essential on day one.
🗜️ Tongs (Grip Matters More Than Style)
Tongs allow you to safely hold hot steel — and safety should always come first.
Best beginner option:
Flat-jaw or wolf-jaw tongs
These can grip a wide range of stock sizes, which makes them ideal when you’re still experimenting.
You don’t need multiple pairs at first — one versatile set is enough.
🧤 Safety Equipment (Non-Negotiable)
Safety gear is often overlooked by beginners, but it should be prioritised just as highly as the forge or anvil.
Essential safety items:
Leather gloves
Eye protection (rated safety glasses or goggles)
Leather apron
Closed-toe boots
Blacksmithing involves hot metal, sparks, and scale — good safety gear protects you while you learn proper technique.
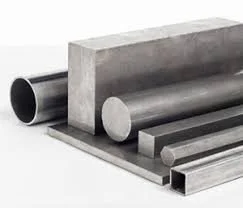
🔩 Steel Stock (Keep It Simple)
When starting out, you don’t need specialist steels.
Beginner-friendly options:
Mild steel flat bar
Mild steel round bar
Scrap steel (known material only)
Mild steel is forgiving, inexpensive, and ideal for learning hammer control before moving on to higher-carbon steels.
❌ Tools Beginners Do NOT Need Yet
Many tools are useful eventually — but not at the start.
You can safely skip:
Power hammers
Hydraulic presses
Specialty forming tools
Expensive grinders
Full tooling sets
Most experienced blacksmiths will tell you they bought too much, too soon.
How These Tools Fit Your Beginner Budget
If you’re trying to keep costs under control, it’s worth revisiting your full setup costs.
We break down exact UK pricing, budget ranges, and upgrade paths in our guide on [how much it costs to start blacksmithing in the UK].
These two articles together answer:
What do I need?
How much should I spend?
That combination builds trust — and keeps readers on your site longer (great for SEO).
Final Advice for Beginners
If you’re just starting blacksmithing:
Buy fewer tools
Learn their purpose properly
Upgrade only when you hit limitations
Skill develops faster than equipment.
A simple setup used well will always outperform a workshop full of tools you don’t yet understand.
Next up:
“Best Blacksmith Forge for Beginners: Coal vs Propane (UK Guide)”

How Much Does It Cost to Start Blacksmithing in the UK? (Beginner Breakdown)
Introduction
If you’re thinking about getting into blacksmithing in the UK, one of the first questions you’ll ask is:
How much does it actually cost to start blacksmithing?
The honest answer is: less than many people expect — but more than social media often suggests.
This guide breaks down realistic beginner costs in the UK, what you actually need to get started safely, and where you can save money without cutting corners.
Quick Answer
For most beginners in the UK, the cost to start blacksmithing is:
£250–£500 for a basic, safe beginner setup
£600–£1,000 for a comfortable home workshop
£1,200+ if buying higher-end or all-new equipment
You do not need a professional forge or a huge anvil to begin.
Why Blacksmithing Costs Vary So Much
Costs vary depending on:
Propane vs solid fuel forge
New vs second-hand tools
Space (garden, garage, shed)
How DIY you’re willing to be
Many beginners overspend early on tools they won’t properly use for months.
Core Blacksmithing Costs (Beginner Setup)
🔥 Forge — £120 to £450
The forge is usually your biggest initial expense.
Beginner options:
Propane forge – cleaner, easier, and popular in the UK
Solid fuel (coal/coke) – traditional, messier, more setup
Many beginners choose a single-burner propane forge because it offers a good balance between cost, ease of use, and consistent heat for learning basic techniques.
Typical UK costs:
Single-burner propane forge: £120–£250
Better insulated / multi-burner forge: £300–£450
A popular starter Forge - https://amzn.to/4qNhH6j
⚒️ Anvil — £100 to £400
You don’t need a huge anvil to start.
Good beginner sizes:
30–50 kg (65–110 lb)
Cast steel anvils are perfectly acceptable for beginners.
Typical UK costs:
Entry-level anvil: £100–£200 - https://amzn.to/4ainzON
Better quality cast steel anvil: £250–£400
💡 Many UK blacksmiths start with second-hand anvils from auctions or Facebook groups.
🔨 Hammers — £25 to £70
You only need one or two hammers to begin.
Recommended:
2–2.5 lb cross-peen hammer
Optional rounding hammer later
Typical UK cost:
£25–£70 total
Check out Forged Ironmongery - https://forged-ironmongery.co.uk/product-category/blacksmith-tools-clothing/victory-blacksmith-tools/
🗜️ Tongs — £30 to £80
You’ll need at least one pair of tongs.
Flat jaw or wolf-jaw tongs are versatile for beginners
Typical cost:
£30–£80
If you get some with your forge - THROUGH THEM AWAY, they are as useful as a chocolate fire gaurd!
🧤 Safety Gear — £40 to £100 (Do Not Skip)
Safety is non-negotiable.
You’ll need:
Leather gloves - Some propane forges will have some included
Eye protection - https://amzn.to/4t5F9gv
Leather apron - https://amzn.to/4koSAV3
Ear protection (optional but recommended)
Typical UK cost:
£40–£100
🔩 Steel & Consumables — £20 to £60
To get started:
Mild steel bar - Try B&Q for smaller piece’s - Usually located with the ‘building profiles’
Scrap steel (often free or cheap)
Propane - DON’T buy the Leisure gas! there is not enough pressure to run a forge - For a single Burner 6KG Propane will get you going.
solid Fuel - Coke/Coal can be expensive and need a bulk order. I started with BBQ charcoal Briquettes (BBQ lump-wood burns through so fast)
Typical initial cost:
£20–£60
Total Beginner Cost Summary
Setup Level Estimated Cost
Bare-bones but safe £250–£350
Comfortable beginner £400–£700
Higher-end setup £800–£1,200+
Where Beginners Can Save Money
✅ Buy second-hand anvils and tools
✅ Start with a single-burner propane forge
✅ Avoid specialist tools early
❌ Don’t skip safety gear
❌ Don’t oversize your anvil or forge
Final Advice for Beginners
If you’re starting blacksmithing in the UK, aim for a safe, simple setup and upgrade gradually as your skills grow.
Most experienced blacksmiths will tell you the same thing:
You don’t need everything on day one — just enough to start forging safely.
This guide is based on independent research and learning experiences. The tools mentioned are examples commonly used by beginners and are not sponsored recommendations.
Next up:
“Essential Blacksmith Tools for Beginners (What You Actually Need)”
This article contains affiliate links. If you purchase through these links, we may earn a small commission at no extra cost to you.