
Choosing Your First Blacksmith Hammer: Control, Comfort & Technique
Why Hammers Feel Harder Than They Should
Many beginners struggle with hammer choice not because hammers are complicated — but because most advice skips straight to weight and ignores technique.
If your hammer feels:
tiring
awkward
or difficult to control
…it’s usually not a strength issue. It’s a match issue between hammer, anvil, and how you’re learning to move steel.
This guide approaches hammers from a skill-first perspective, helping you choose a hammer that supports good habits instead of fighting them.
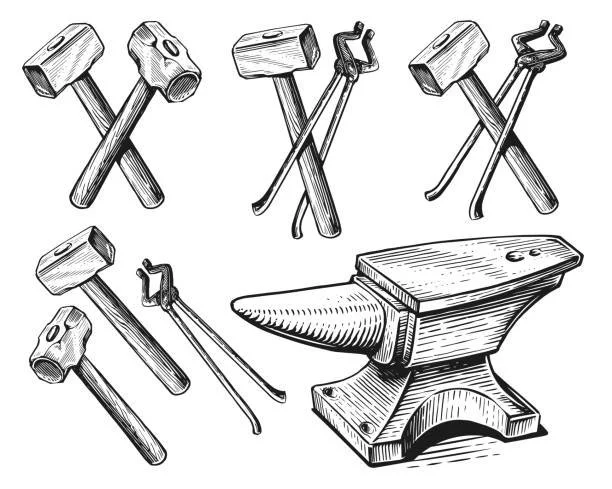
The Real Job of a Blacksmith Hammer
A blacksmith hammer isn’t meant to:
smash steel
rely on brute force
overpower the anvil
Its job is to:
deliver controlled energy
work with anvil rebound
allow repetition without fatigue
That’s why beginners benefit more from the right hammer than from a bigger one.
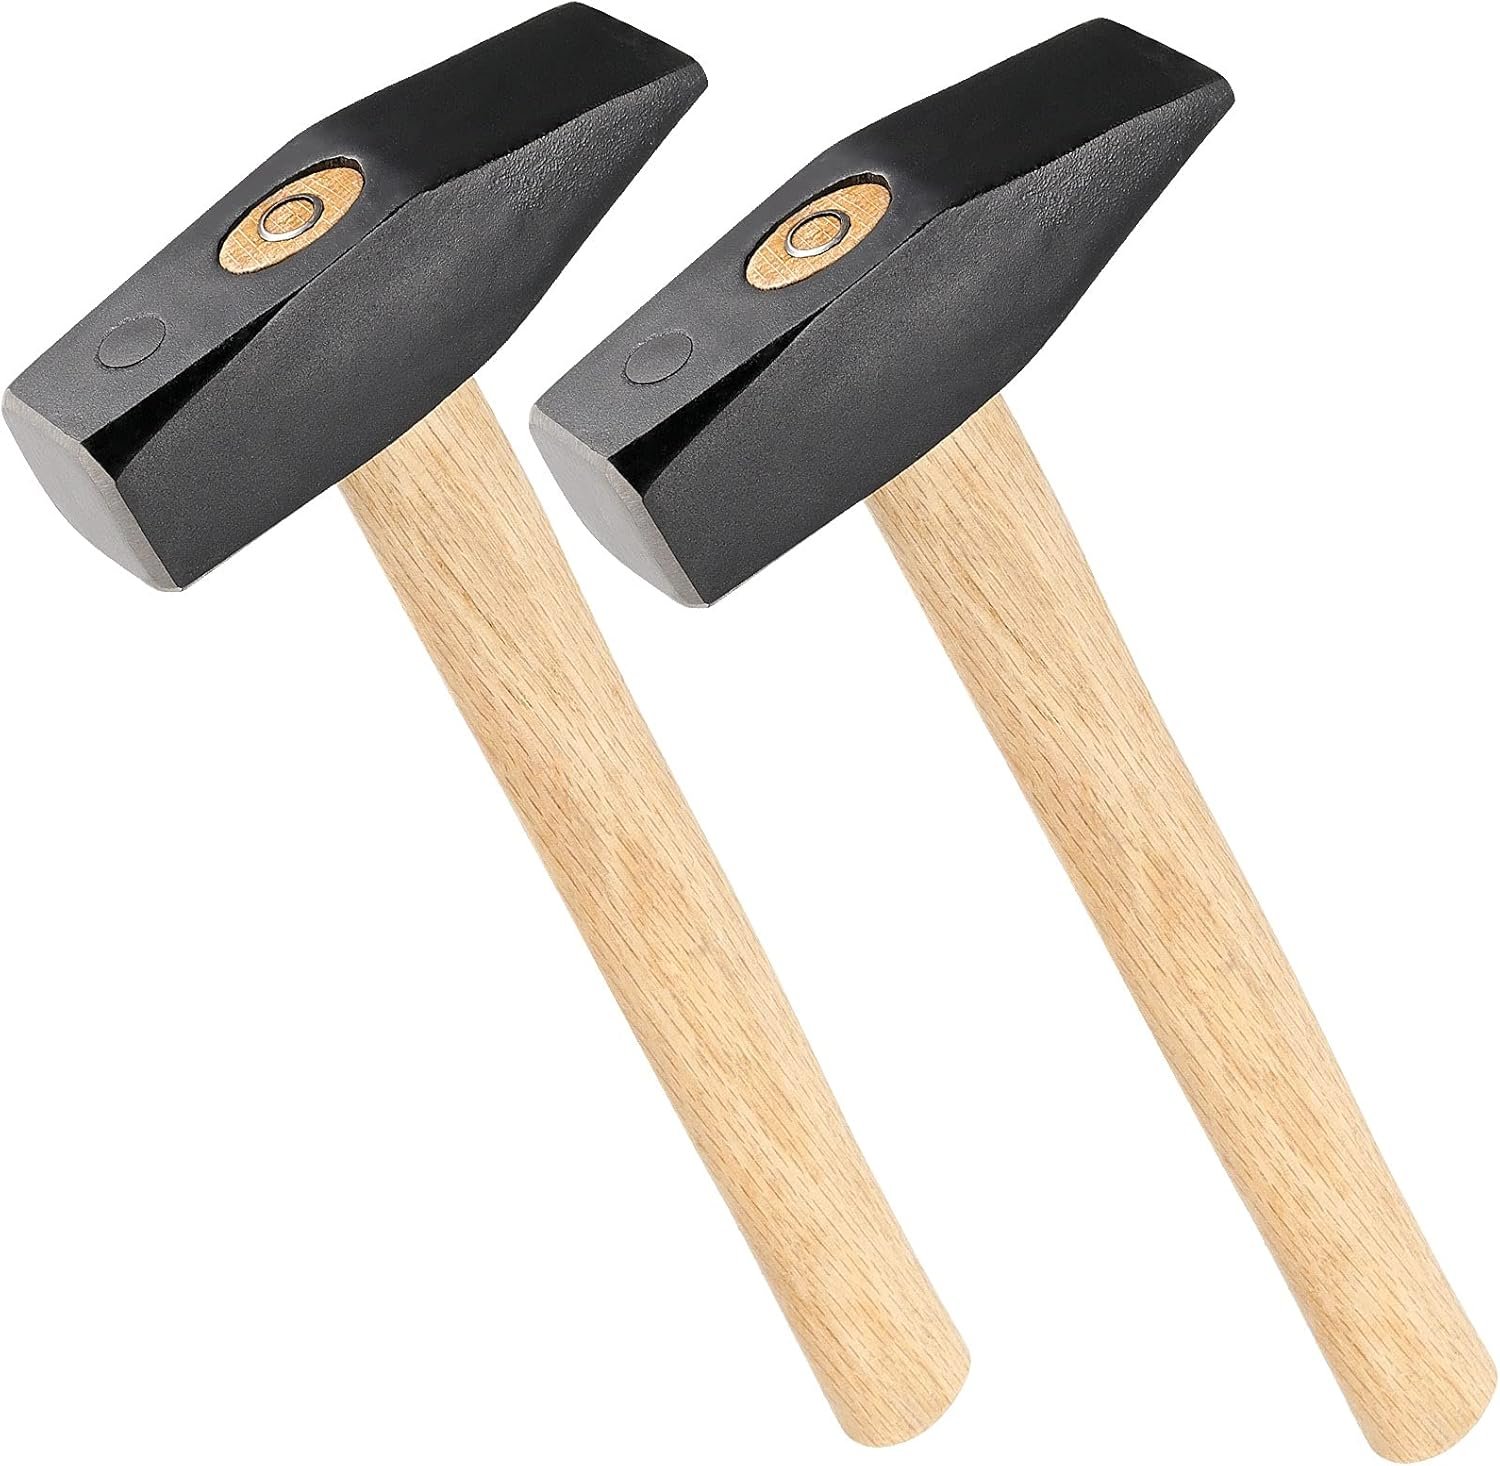
The Beginner Sweet Spot: Why 2–2.5 lb Works
Before discussing shapes, weight matters.
Most beginners learn fastest with a hammer that:
is heavy enough to move hot steel
light enough to swing repeatedly
forgiving when technique isn’t perfect
For most people, that range is 2–2.5 lb.
Heavier hammers:
punish poor timing
amplify mistakes
increase injury risk
Lighter hammers encourage accuracy — and accuracy moves metal efficiently.
Hammer Shapes Explained Through Use (Not Names)
When You’re Learning to Draw Out Steel
A cross-peen hammer shines here.
The peen concentrates force and teaches you how steel flows under controlled blows.
This is why it’s so often recommended as a first hammer.
When You’re Learning Control and Flow
A rounding hammer rewards good timing and relaxed swings.
It’s less intuitive at first, but many smiths migrate to one as their technique improves.
When You Want Straight-Line Control
A straight-peen hammer offers precision but slightly less flexibility for beginners.
Still a solid choice — just more specialised.
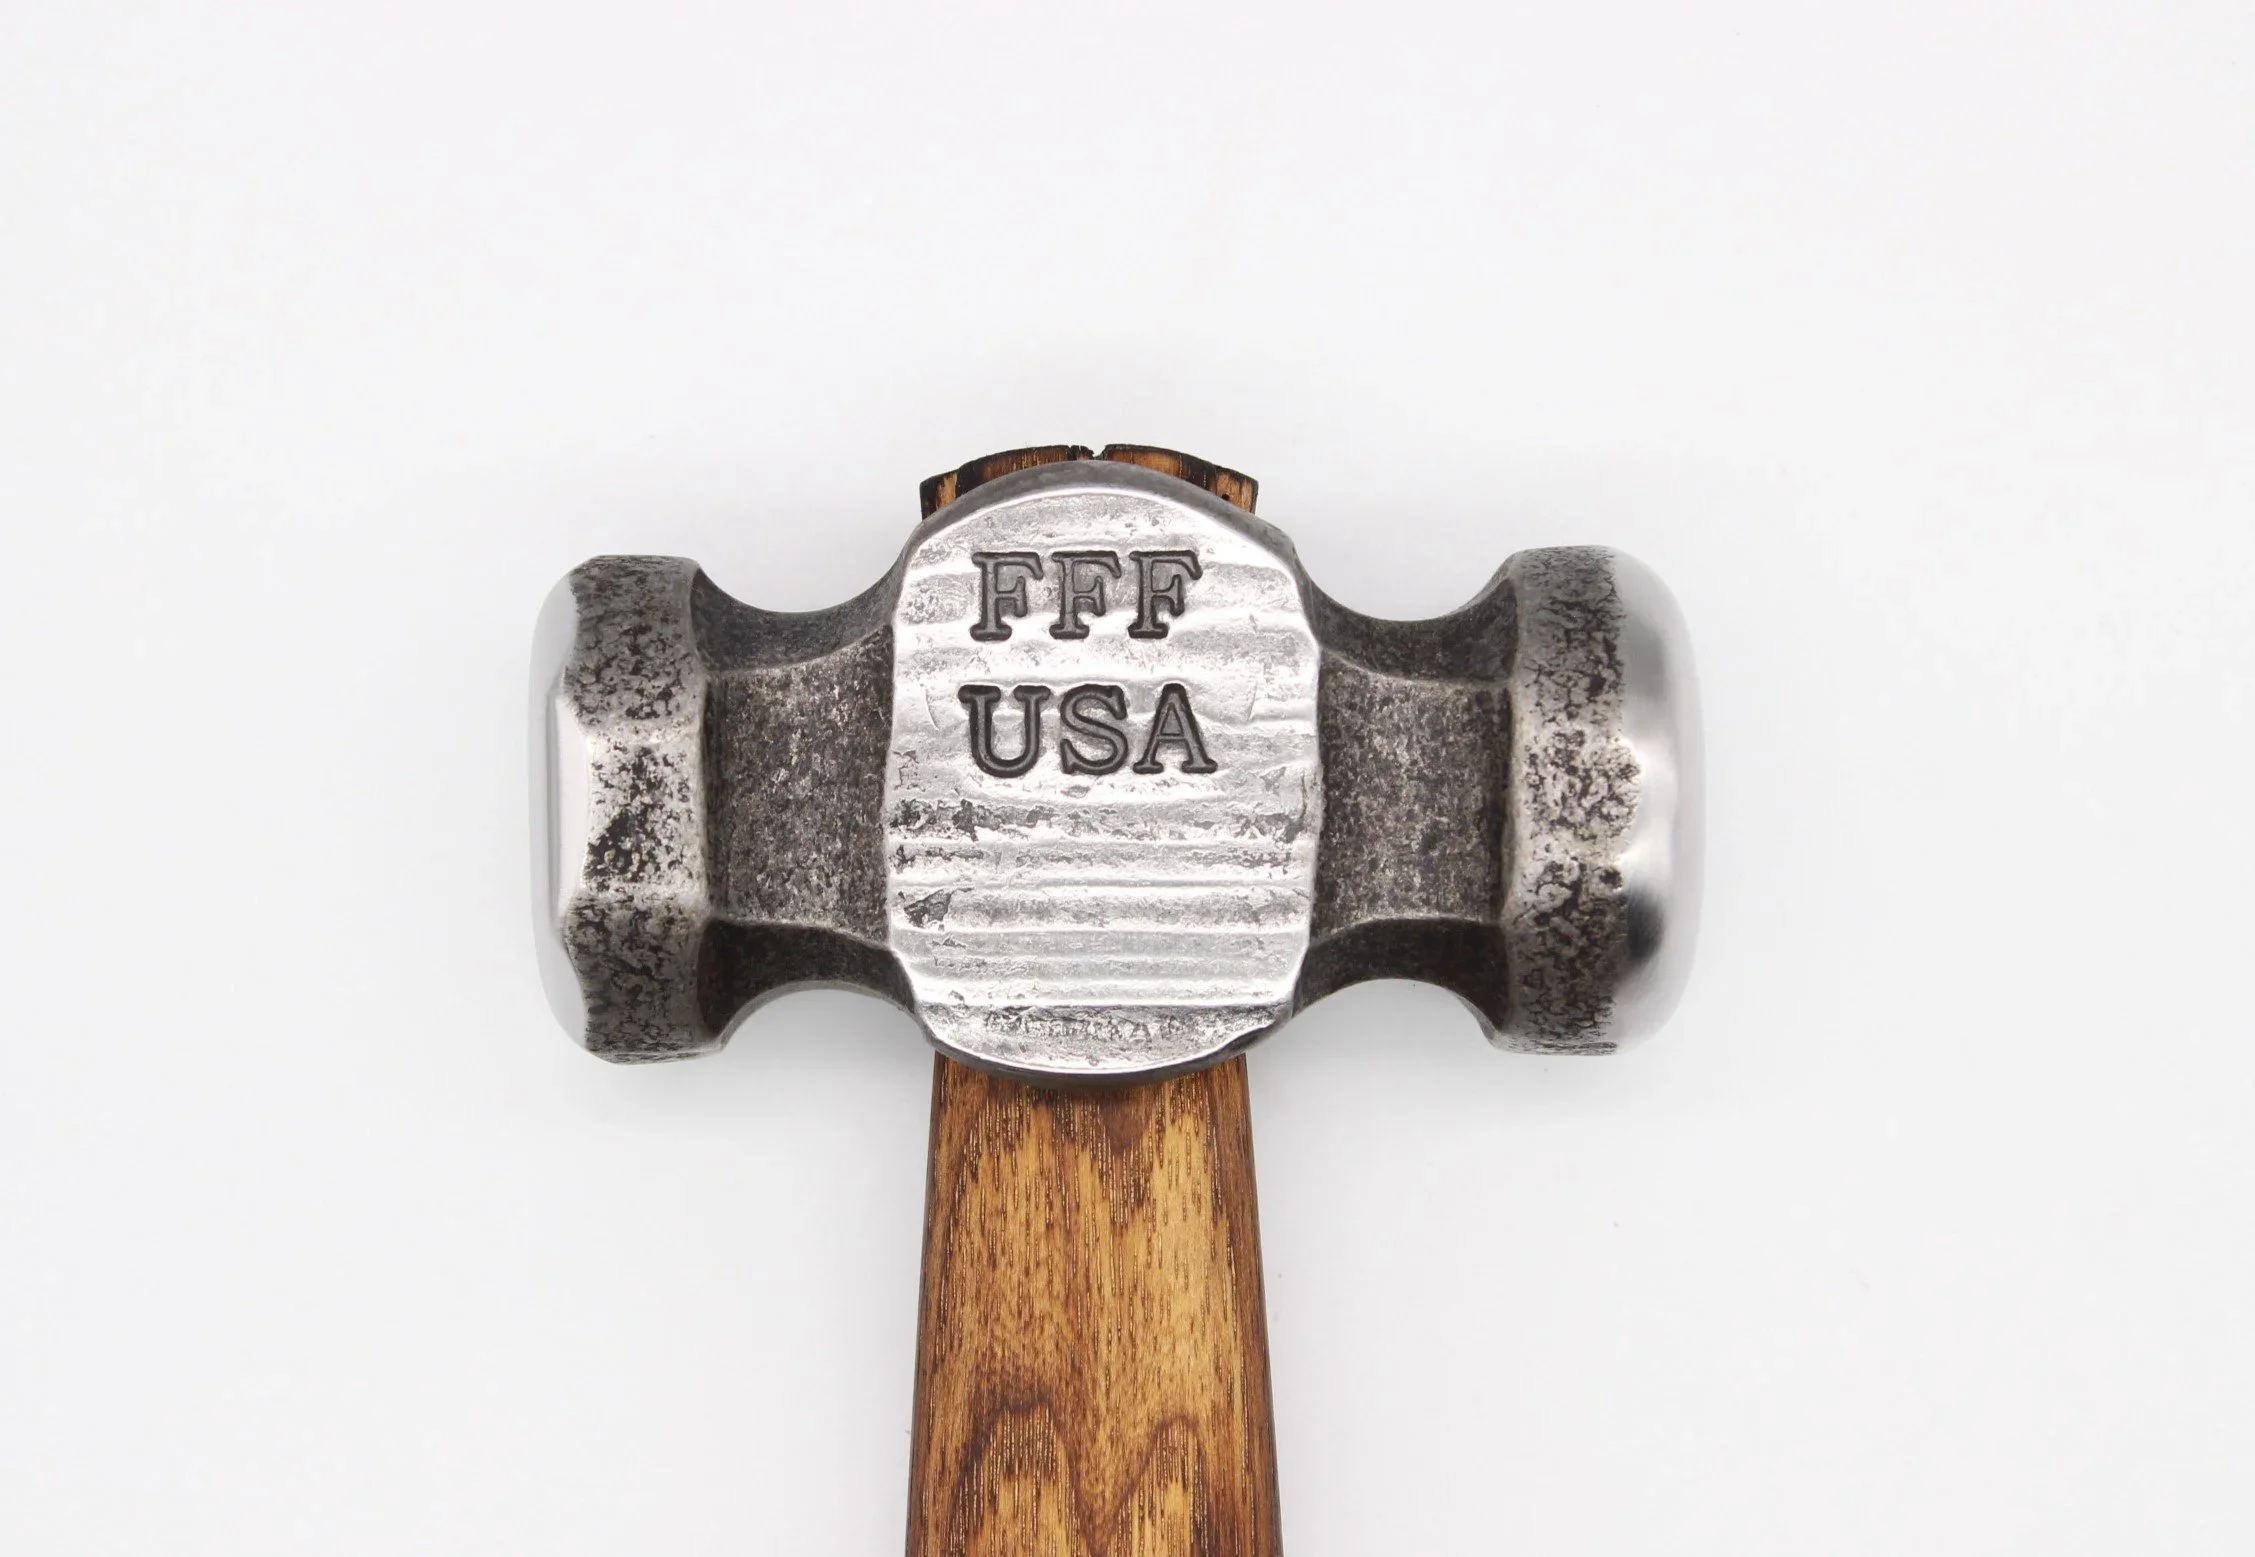
Why Hammer Faces Matter More Than Shape
Many beginner problems come from sharp hammer edges, not the hammer itself.
A good beginner hammer should have:
softened edges
a smooth face
no sharp transitions
This prevents:
deep hammer marks
cold shuts
unnecessary rework
Most hammers need light dressing before first use.
Handle Feel: The Most Personal Choice
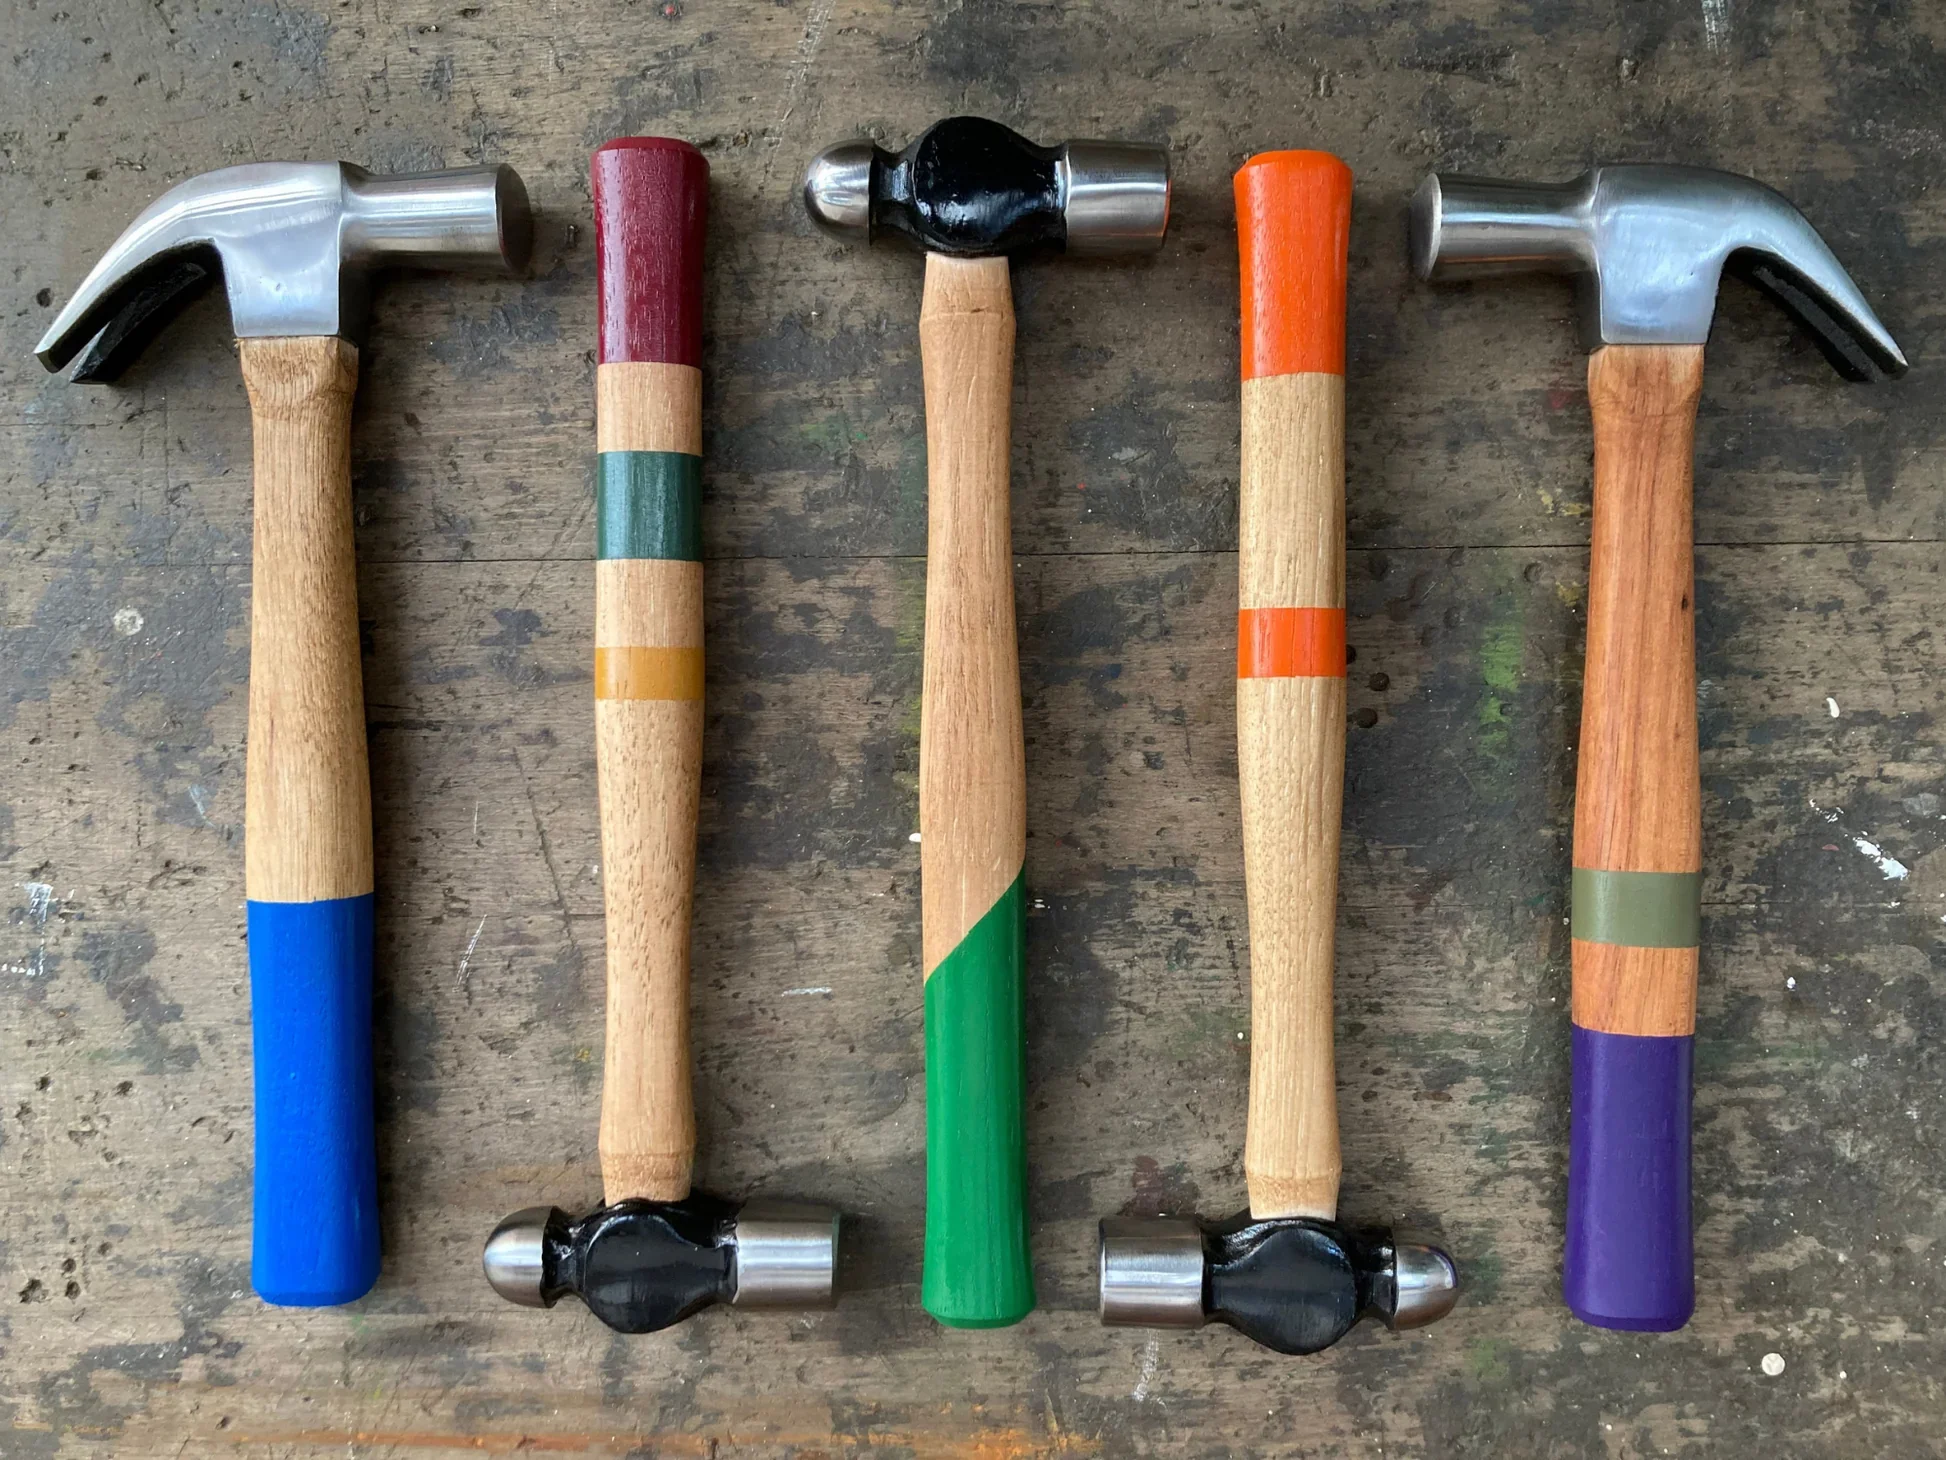

This is where personal preference matters.
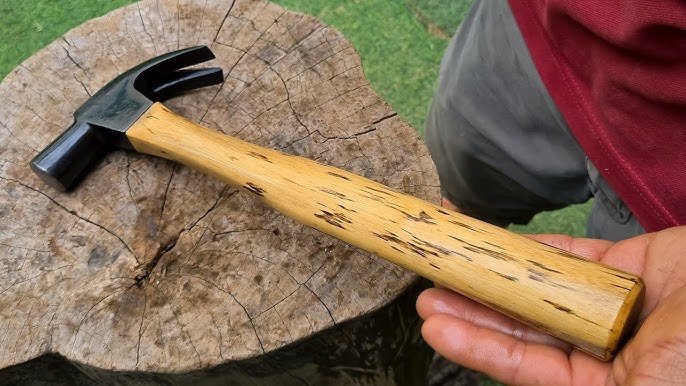
Wooden Handles
absorb shock
feel “alive” in the hand
easy to replace
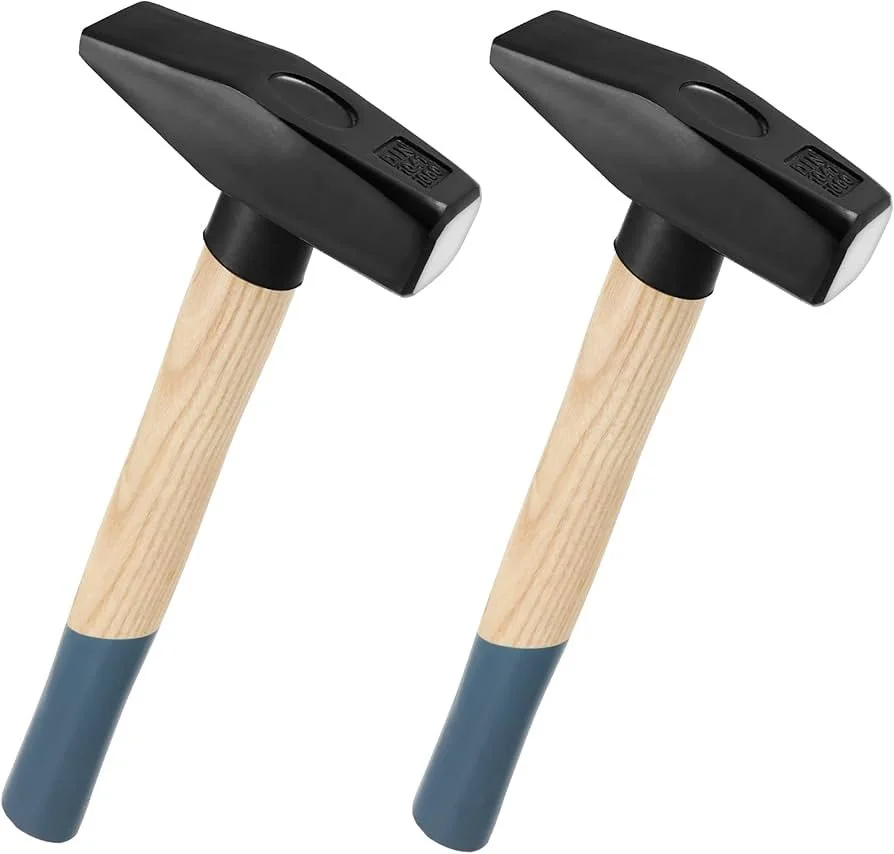
Composite Handles
durable
weather-resistant
slightly harsher vibration for some
If a hammer feels uncomfortable, you’ll fight it — no matter how “good” it is.
Hammers Beginners Often Buy Too Early
You do not need:
sledges
heavy striking hammers
specialty forming hammers
These tools are useful after control is developed — not before.
How the Hammer, Anvil, and You Work Together
Hammer efficiency depends on:
anvil rebound
solid mounting
relaxed grip
rhythm
A lighter hammer on a well-mounted anvil will outperform a heavier hammer on a poor setup every time.
A Simple Beginner Hammer Strategy
Start with:
one well-balanced hammer
focus on control and consistency
dress it properly
forge often
Add variety later only when your work demands it.
Final Thought
The best beginner hammer isn’t the one that looks impressive — it’s the one that:
encourages good habits
protects your joints
lets you forge longer and better
Control builds skill.
Skill moves steel.